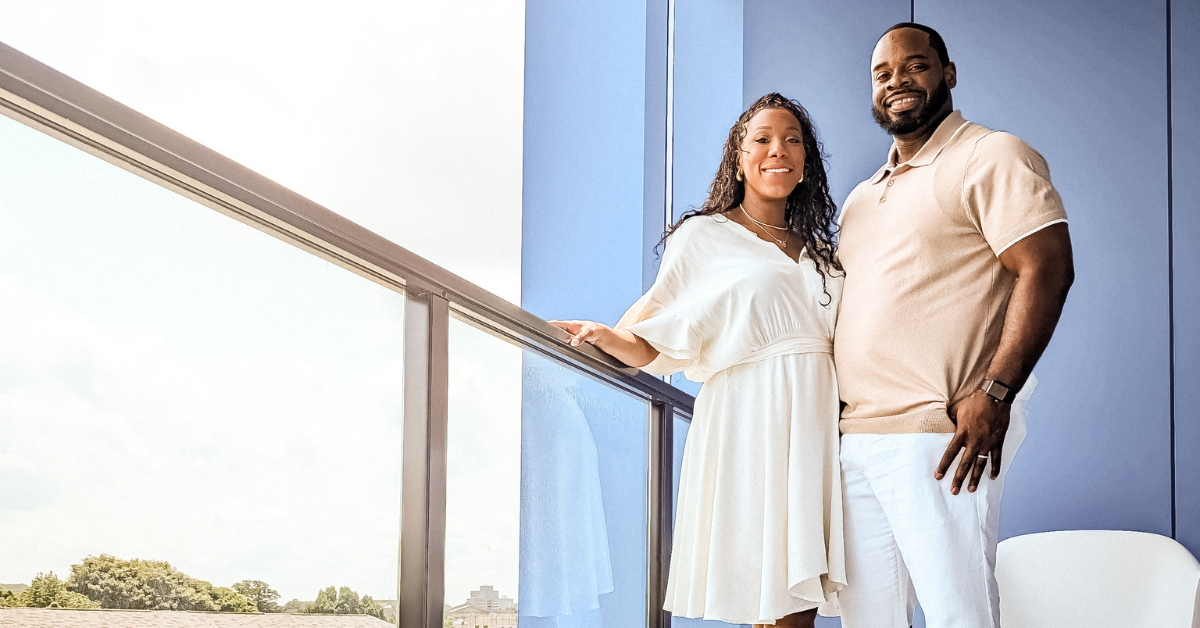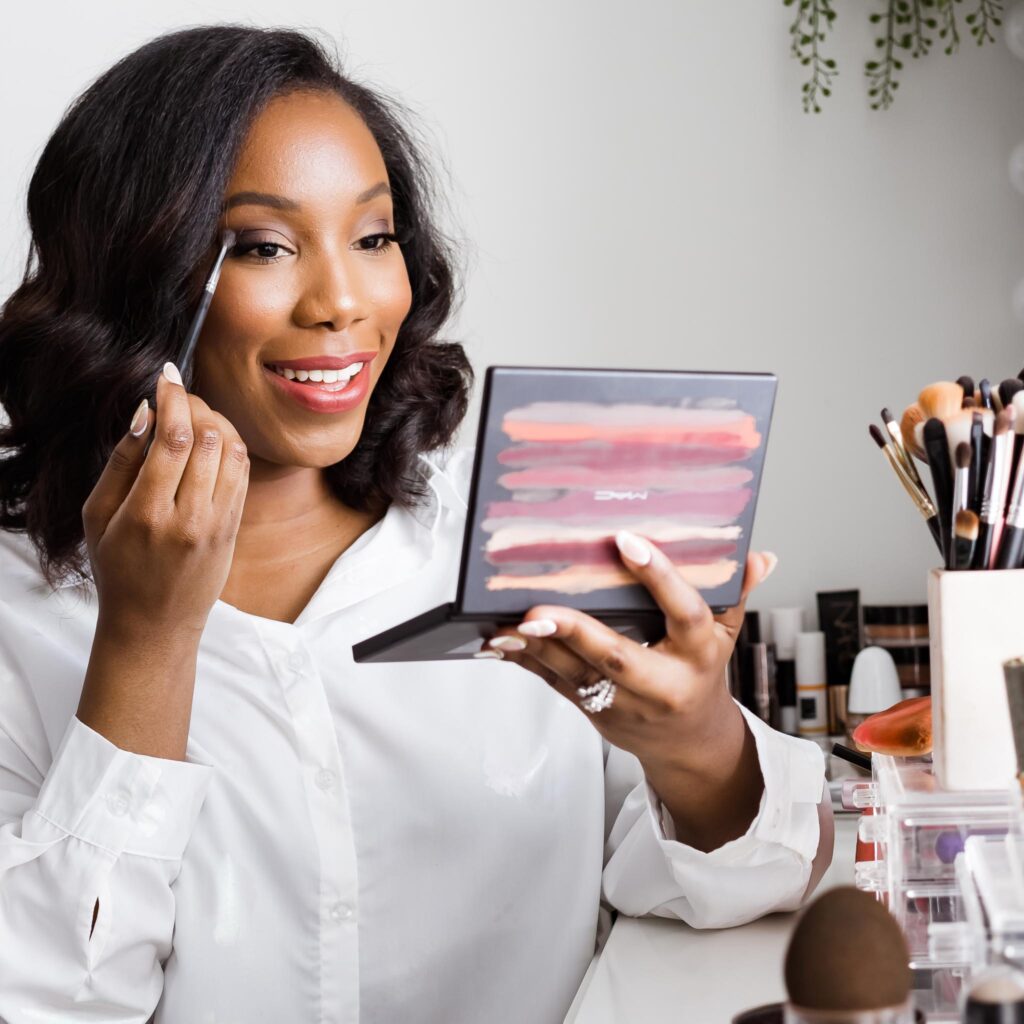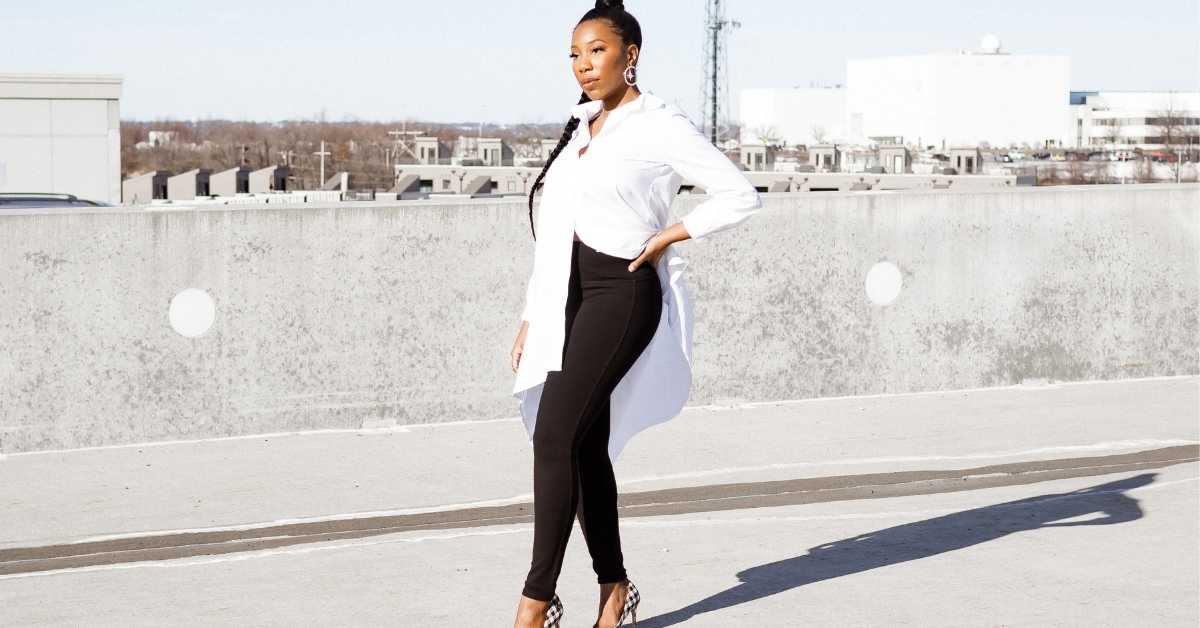
This picture looks like a photographer could’ve taken it. However, I took it myself using a self-timer! Keep reading to learn the equipment, settings, and editing software I use to produce these images!
Equipment
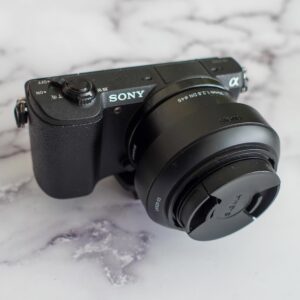
I bought a Sony Alpha A5100 years ago. While the quality was better than my phone, I couldn’t figure out why my photos didn’t look crisp. Turns out, the problem was the lens. I upgraded to a Sigma 30mm lens and whew, girl, the quality jumped out! If you already have this camera I would highly suggest grabbing this lens. I bought it used on Amazon for $158.
The image quality is so much better. This lens also blurs the background a bit more than the standard lens, giving photos a more professional feel.
If you don’t own the A5100 and are considering buying it, buy the body by itself and get this lens. You’ll save a couple hundred dollars.
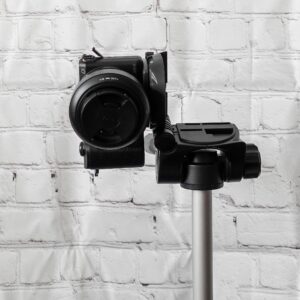
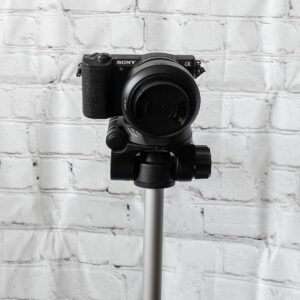
A tripod is also key because you’ll need something to hold the camera! This one from amazon works great because you can mount the camera horizontally and vertically. Plus, it’s under $30!
I have found that mounting the camera vertically works best for taking photos for Instagram. That’s because of the 1:1 crop required for the app. When you take your photos horizontally you don’t have as much wiggle room for cropping. In addition to that, you’d need the camera to be very, very far away for full body shots.
Camera Settings
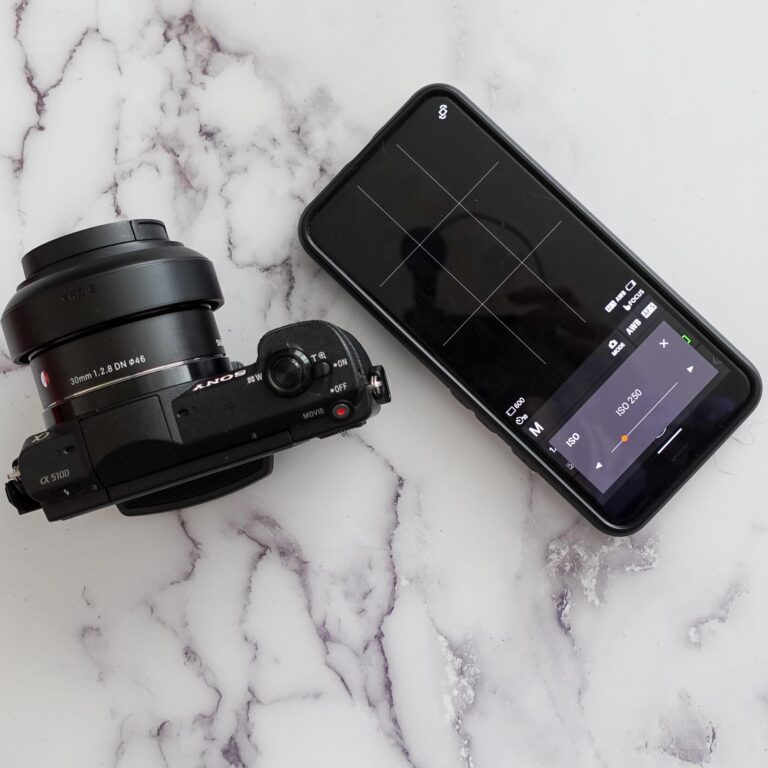
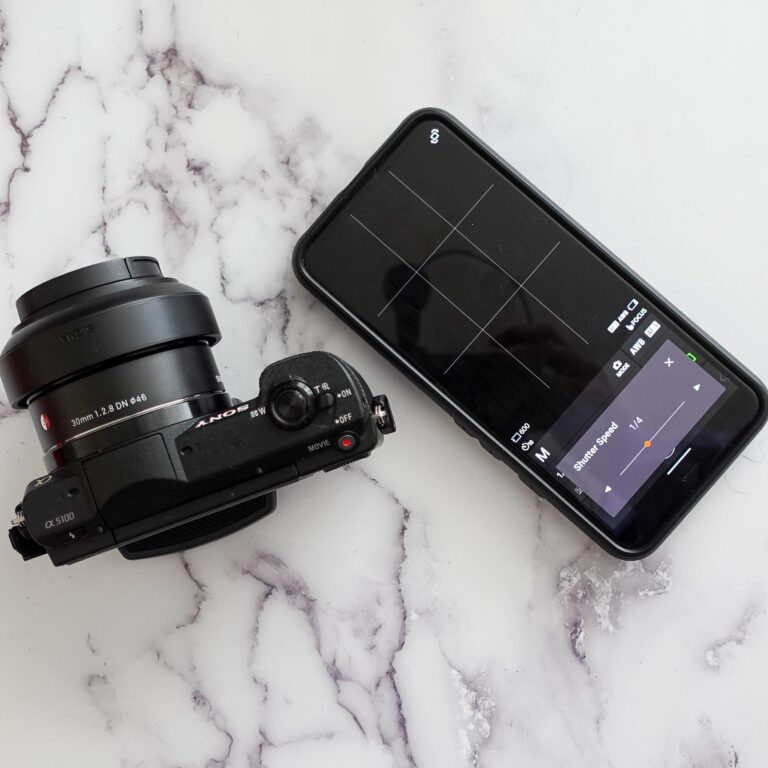
Connect the camera to your phone with the smart remote. That will allow you to see exactly what the image is going to look like and activate the self-timer with your phone. Amazing, right?! Here’s how to access the smart remote: menu > application > application list > smart remote control.
After your camera and phone are connected, adjust the image quality. Here’s how: menu > quality > RAW & JPEG. By doing this, your camera will save two copies of each photo. One will be RAW, the other will be JPEG.
Zoom will not work whenever your quality is set to RAW & JPEG. However, RAW images are very high quality. Therefore, when you crop you won’t lose much quality. In addition to that, many editing presets perform better on RAW images.
Shooting in Manual will also improve your photo quality. On your phone, you’ll be able to adjust the ISO to brighten or darken your image. Staying below 640 is ideal!
The shutter speed will also adjust the brightness of your pictures. Play around with these two settings until the lighting is how you prefer. Then, hit the self-timer button and quickly move your phone to an area nearby that won’t be visible in the picture. Sometimes I hide mine in my pocket or waistband!
Editing The Images
I use Adobe Lightroom for all my photo edits. Start by cropping and straightening the picture, if necessary. For Instagram, you want to use the 1×1 photo crop option. Then apply a preset, if you want. Lately, I’ve been loving the Marrica Evans Bright & Airy preset. Check out the difference it makes in that before and after!
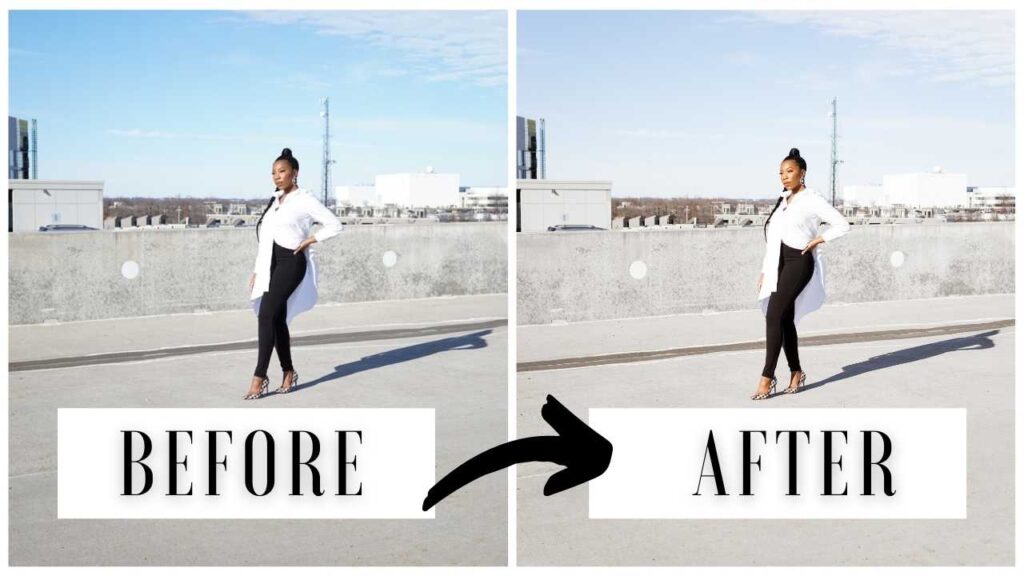
Export the images at 100% quality so they’re nice and crisp. That’s it! Now you’ve got beautiful images that (almost) look like you hired a professional photographer! Did you learn something new? Let me know if this was helpful, and if you’d like to see more content creation tips!

