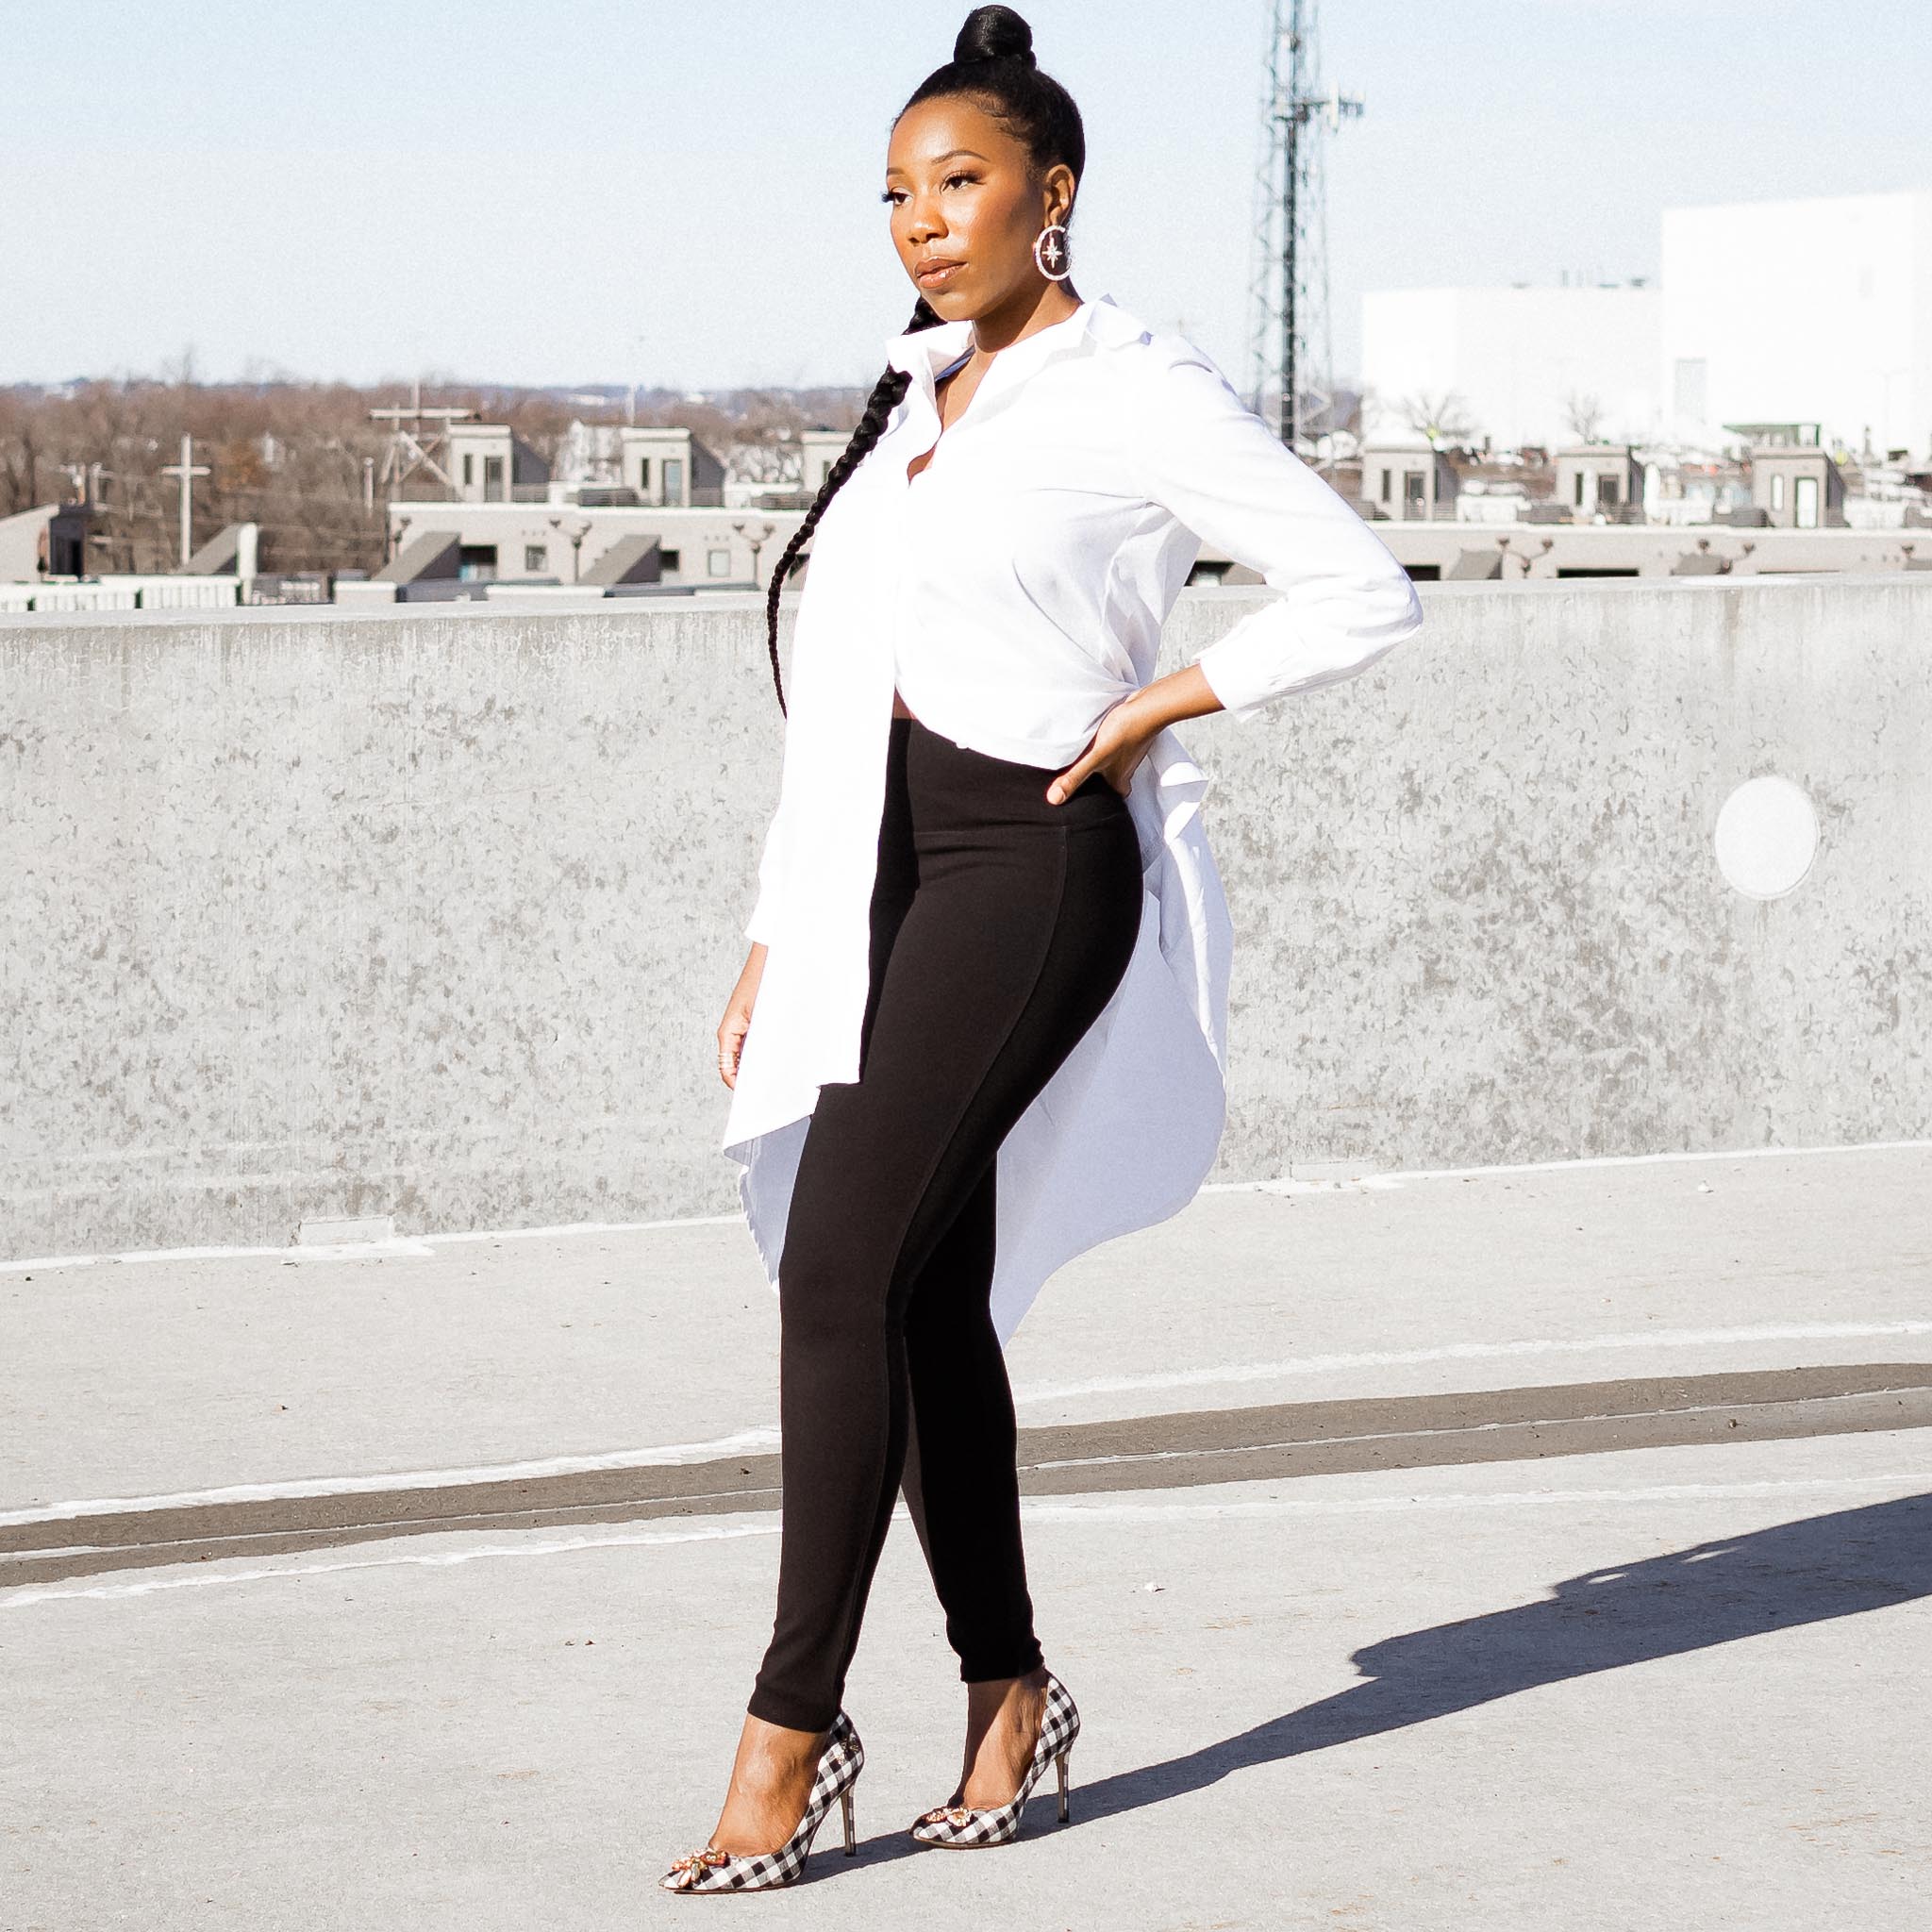
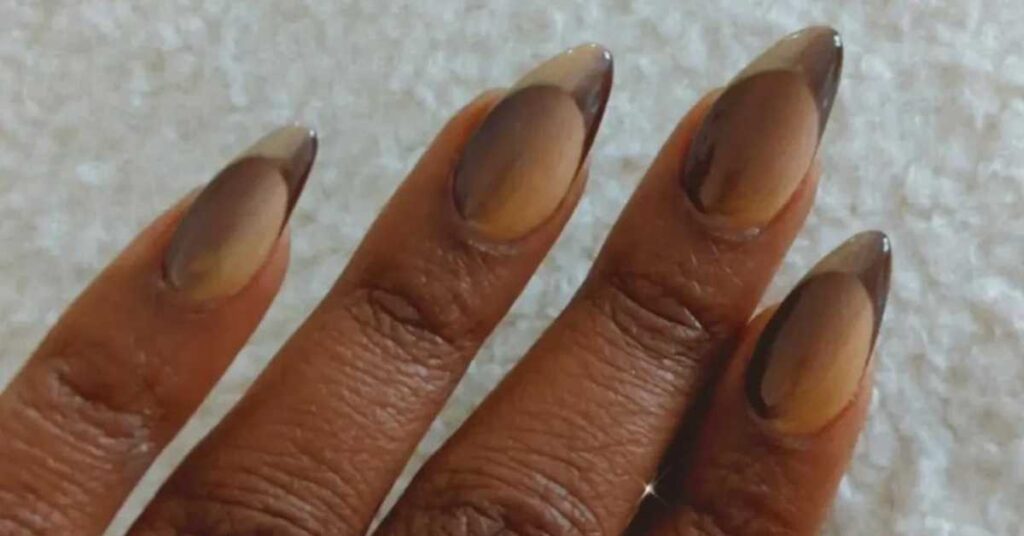
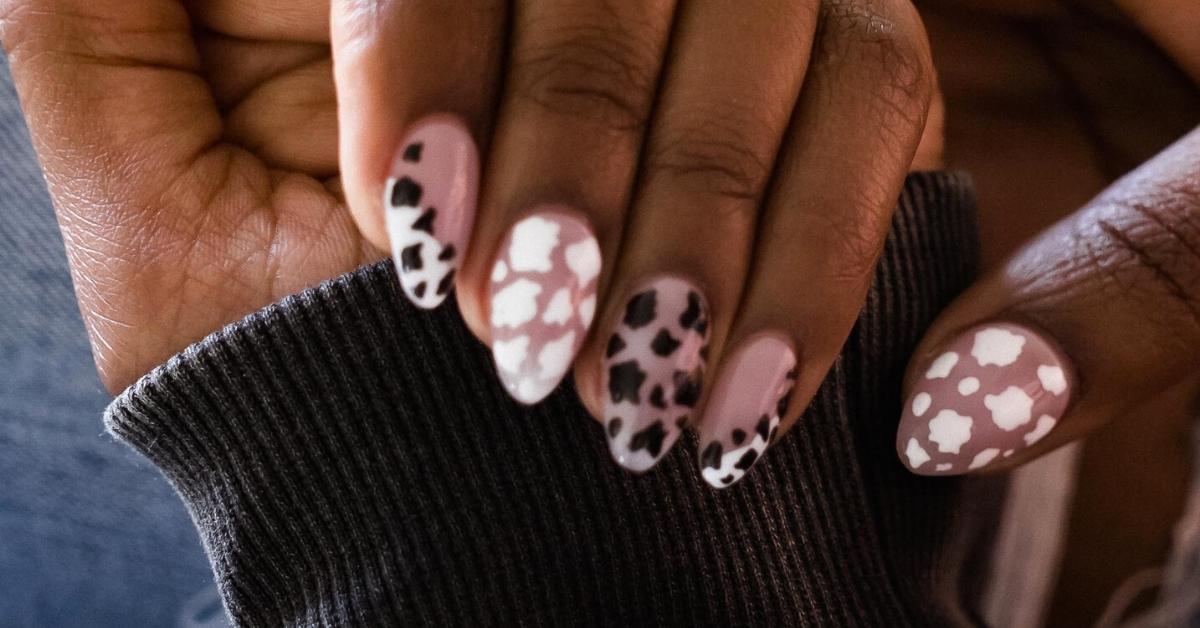
The leaves are changing colors, and there’s a chill in the air, so you know what that means. It’s time for the 2022 pumpkin carving challenge!
The Challenge Rules
The rules are pretty simple, but they have evolved over the years. This is our ninth year, after all! The first rule is no stencils are allowed. The pumpkin carving designs must be drawn by hand. Last, but not least, there’s a time limit. The pumpkins must be carved in two and a half hours. Then, it’s off to the races, and may the best pumpkin win! As in years past, we recorded the challenge so you can see all the hard work (and trash talk) that goes into these pumpkins.
You Decide: Who is the Champion?
Brent started this year’s pumpkin carving challenge with a plan to carve a design he saw in his dream for two weeks. I’m not kidding, that’s what he claims.
However, he ended up calling an audible and carving a panther jumping out of a pumpkin instead of his original design.
I decided to go with a classic and used the Thriller music video as inspiration. I carved Michael Jackson after he transformed into a zombie. This design was definitely a challenge!
As always, you get to decide who the true pumpkin champion is! Let us know who earned your vote in the comment section! Oh, and we’d love to see your designs if you’re carving pumpkins this year!
Ah, the custom closet. I have dreamed of having one for so, so, very long. When we got the keys to our house one of my first calls was to a closet designer.
Designing Our Custom Closet
I had consultations with two closet design companies. I chose to go with Inspired Closets. Our designer came to my home, measured the closet using a laser (which was so cool!) and asked about our needs for a custom closet. I have quite a wardrobe, and my main goals were having more organization and efficient use of the space. Brent wanted drawers. He never really explained why, but since he let me pick everything else, I was happy to include them in the design!
Here’s our original closet with the wire shelf system. What I didn’t like was that we couldn’t use the bottom shelves, since our clothes hung too low.
I also felt like we didn’t have the right combination of short and long hang space.
Our designer took into account the amount of clothes and shoes we needed to store, our heights (so the bars would be high enough), and any additional features we thought might be helpful. We added cabinets above our drawers, hampers for both of us, and jewelry storage for me.
Now, This is Where it Gets Expensive
There are so many additional upgrades! It’s easy to get carried away, or as I call it, closet drunk. One big decision was whether we wanted the closet wall mounted or floor mounted. Essentially the difference is whether it looks built in at the bottom, and a couple thousand dollars. We decided to go with a wall mount and save our coins!
We also could have added a countertop above our drawers, and mirrored the wall behind the opening. The answers were no and no! While they’re nice, at the end of the day it’s just a closet, and we won’t be spending tons of time in there.
Preparing for Installation
With supply chain issues, we waited about three months for our installation day. When the time arrived, we had to prepare the space.
Ripping out the existing closet seemed simple and easy enough. Famous last words! It wasn’t a nightmare, but it took a lot longer than we thought.
We had to rip the studs out of the wall that were holding the wire system together. We were left with larger holes than expected, so they needed to be patched. When we installed a new light fixture I realized the closet wasn’t really as white as I thought. I wanted a crisp background for the installation, so we painted the walls, moulding, and ceiling.
Installation Day!
Two gentlemen arrived with all their supplies to install our custom closet. The installation took about four to five hours. They used a drop cloth to protect our floors as they went up and down the stairs. In addition to that, they vacuumed when the work was done.
What a beauty!! We were in awe! The space looks so much bigger. Plus, we’re able to stay organized which is a major bonus. I’m still playing around with where I want everything, but every time I walk in there I’m so happy we went with a custom closet!
What do you think about the transformation? Let me know in the comments!
Have you seen it? The viral illusion nails? It’s a vertical ombre french manicure design. When I couldn’t take my eyes off it, I knew I had to try it!
Heading Into Fall
When I headed to the nail salon to get a fill-in by my nail tech, Mina, I wanted something that would give #fallvibes. What I didn’t know is what the design would be. Once I washed my hands and sat down I quickly scrolled through nail inspo pictures on my phone. That’s when I noticed I had saved the same viral ombre french manicure three times! I knew this was it! However, the ones I saw were done in neon colors. I wanted something a little more moody. So, I asked Mina if she could create the viral ombre french manicure with brown and tan. She squealed with excitement and I knew Mina was going to make magic on my nails!
Trust The Process
After removing my old manicure, Mina laid down a base of acrylic. She used a soft tan color that looked very natural. Then, Mina worked to create the base layer of ombre with gel polish and a tiny nail art brush. She went over each nail once, cured them with the light, and applied a second layer to create a beautiful ombre effect.
Then, Mina followed the same steps to create the french tip. However this time she reversed the order of the colors. The process took a while, but the end result was so worth the wait! I love how the vertical ombre french manicure creates an optical illusion and almost gives a 3D effect. This manicure is so pretty that I can hardly stop looking at these nails!
October is one of my favorite months of the year – it’s our anniversary month. My first niece was born in October! Oh, and Brent and I go to war! We have a pumpkin carving challenge every year, and you get to pick the 2021 winner!
The Challenge Rules
The rules are pretty simple, but they have evolved over the years. This is our eighth year, after all! The first rule is no stencils are allowed. The pumpkin carving designs must be drawn by hand. Last, but not least, there’s a time limit. The pumpkins must be carved in two and a half hours. Then, it’s off to the races, and may the best pumpkin win! As in years past, we recorded the challenge so you can see all the hard work (and trash talk) that goes into these pumpkins.
You Decide: Who is the Champion?
As you saw in the video, Brent wore his “championship attire,” and carved a Milwaukee Bucks pumpkin! I must say, I was pretty impressed with his pumpkin this year!
I brought Tinkerbell to life on my pumpkin, complete with fairy dust sprinkled throughout! She looks so magical in the dark!
As always, you get to decide who the true pumpkin champion is! Let us know who earned your vote in the comment section! Oh, and we’d love to see your designs if you’re carving pumpkins this year!
There are two things I look forward to as fall arrives: new fashion and switching up my nails. Here’s some
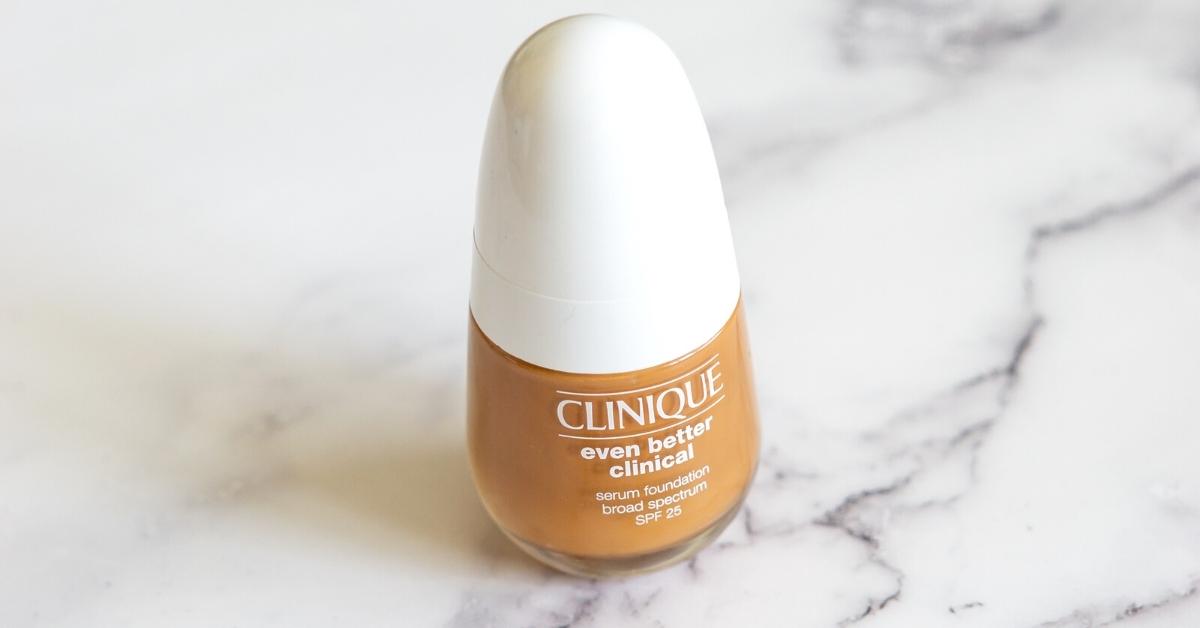
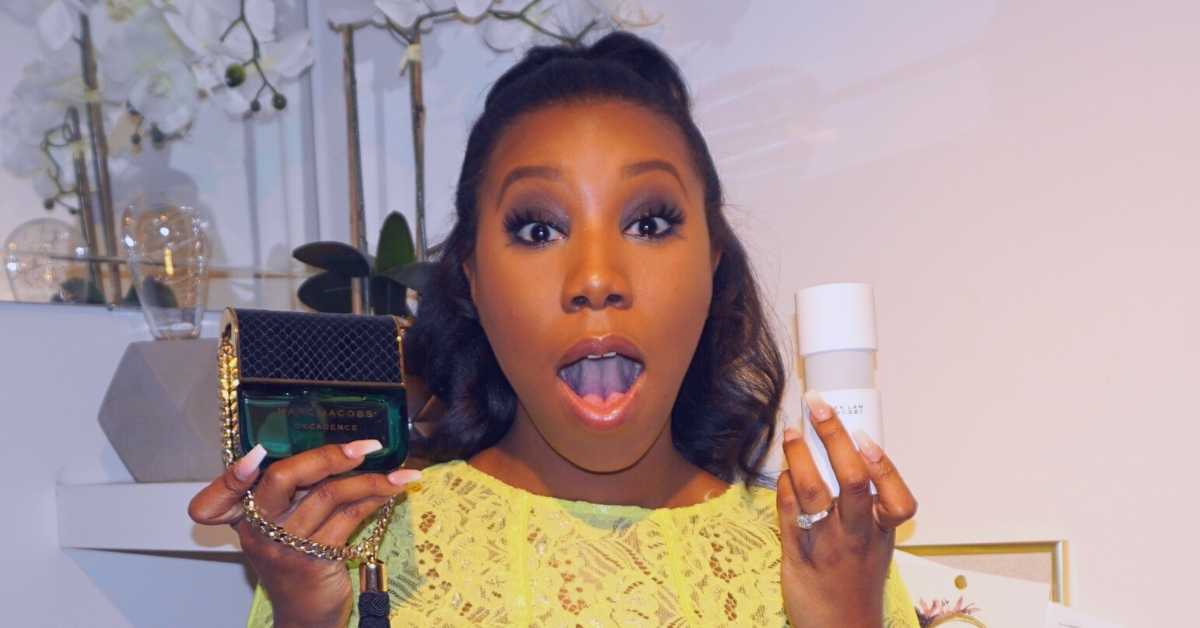
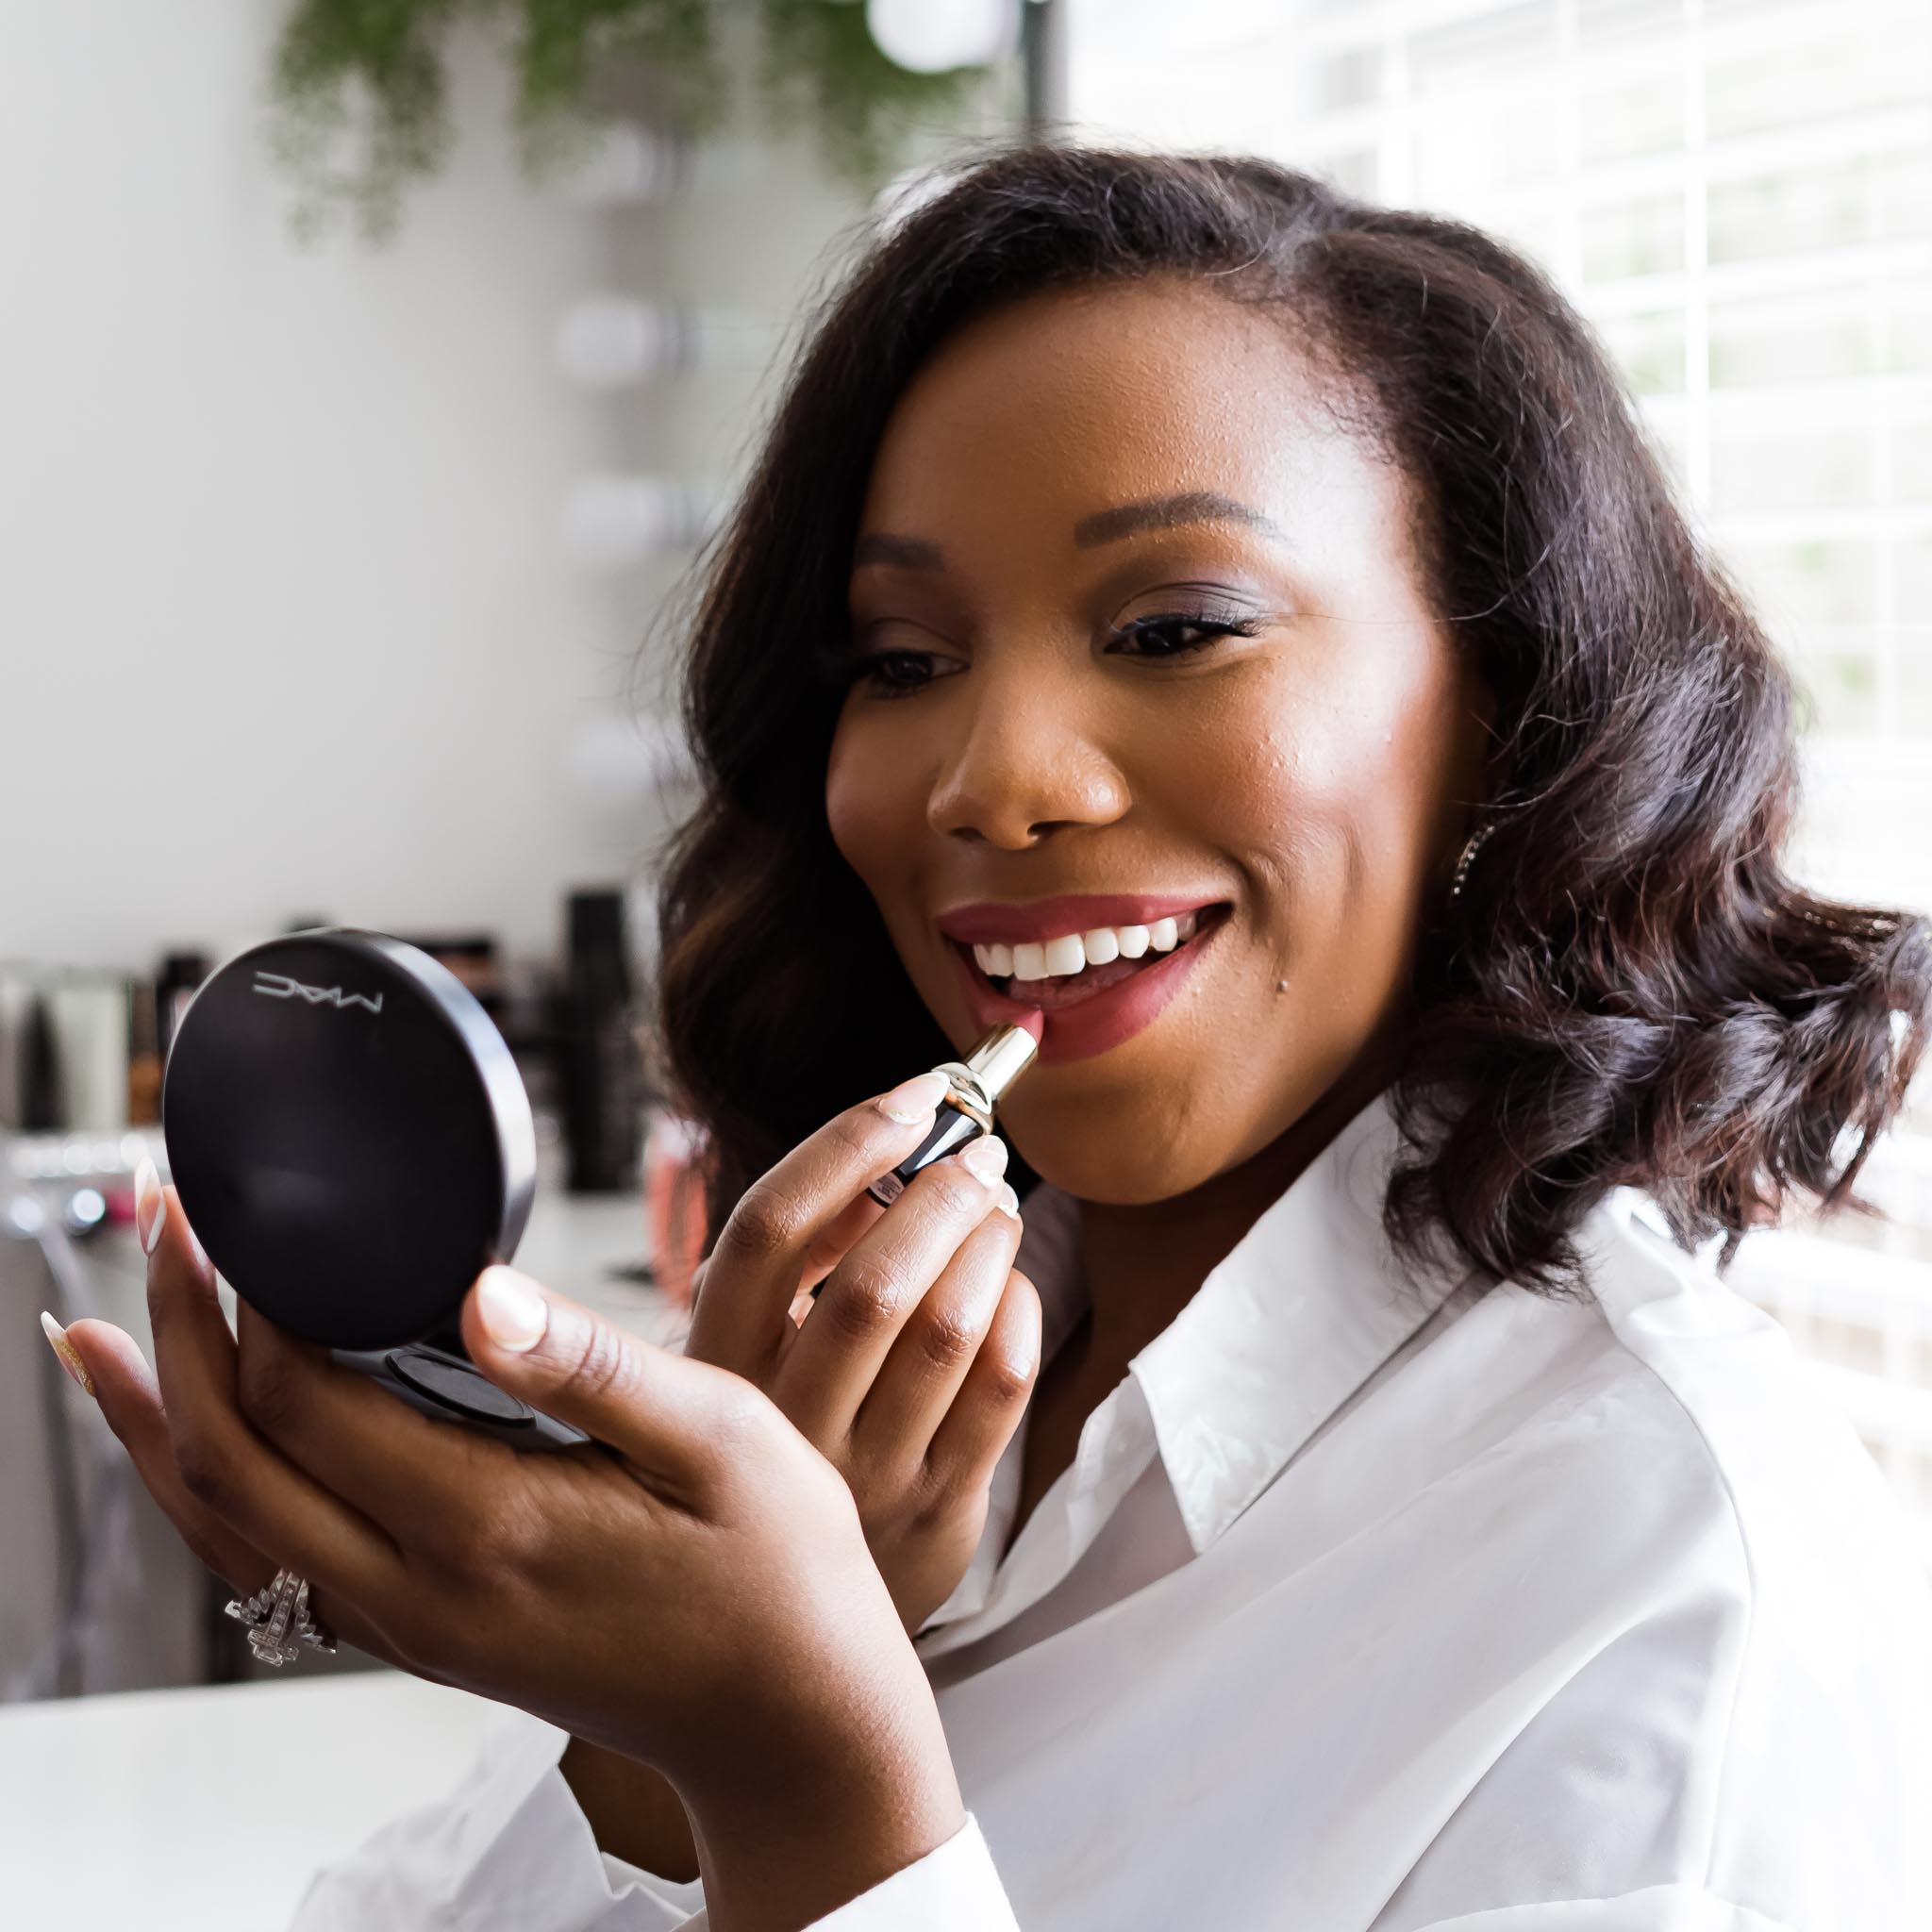
 fall 2021 nail art inspiration to try at your next manicure appointment!
Abstract Nail Art
I love the abstract art that has been trending lately. Some looks are really bold with bright colors, which can be a little scary to try. If you a bold design you really love, consider asking your nail tech to replicate the look with softer colors.
Here, I chose an abstract line design. My inspiration photo had a deeper color palette, but I decided to go with a soft pink. This design would be perfect for fall 2021 with a tan or soft green color palette! The second design in this video brings me to another great trend to try this season.
Swirls and Marble Designs
In the video above, I switched things up with a jade-inspired design. The bits of gold really give it the jewelry-inspired look. You could use a black, white, and gray color palette for a marble look.
You can use swirls to create a modern take on a french manicure. Here, my nail technician used a pink-based nude. Then, painted swirls of brown, green, and white across the top. While the color palette is still soft, and pretty neutral, this manicure still has a stylish impact. Oh, and it makes me want mint chocolate chip ice cream!
Find Inspiration in Nature
Personally, I don’t think animal print ever goes out of style! Try experimenting with new takes on classic prints. Here, my nail tech put a modern spin on cow print.
Keeping the background nude is a great way to try out an animal print without going all the way to the wild side!
Have fun and try something new!
Overall, don’t be afraid to give a new trend a try. After all, it’s just polish and easily removed! If you’re not able to make it to a nail salon, consider treating yourself to an at-home mainucre.
I’d love to know how you’re switching your nail art up for the fall season! Let me know in the comment section!
In April 2021 I was thrilled to join QVC as a Program Host! While I am employed by Qurate Retail Group, all views and opinions expressed here are my own and do not represent the views or opinions of the Company.
This is an oil-free formula. The coverage is medium to full. According to Clinique, it’s formulated with the brand’s exclusive dark spot fighting molecule.
Clinique is great if you have sensitive skin because it’s fragrance-free and allergy-tested. According to Clinique, after 8 weeks of use, 91% of women saw reduced imperfections on bare skin.
My First Impression
The second layer went on beautifully. It didn’t feel heavy or cakey. Plus, my skin looked flawless and radiant. If you really like a matte look, this may not be the foundation for you. It’s a satin, skin-like, finish. However, when I applied setting powder it did read slightly more matte. It wears nicely throughout the day. I’m on the oily side, so I do need to blot my t-zone occasionally. Other than that, it looks great!
Final Thoughts
Clinique is coming ALL the way through! I love that this foundation is buildable, and the finish is very nice. I’m curious to see if I’ll notice the skincare benefits after continued use.
In April 2021 I was thrilled to join QVC as a Program Host! While I am employed by Qurate Retail Group, all views and opinions expressed here are my own and do not represent the views or opinions of the Company.
Tatcha Silk Canvas
Have you ever wondered why a product works for everyone but you? That happened with me and Tatcha Silk Canvas the first time around.
So many people rave about this product. I received a deluxe sample of Tatcha’s Silk Canvas years ago. When I tried it, I wasn’t impressed. Then, a few weeks ago, I saw a video demonstration. It turns out, I wasn’t using the product properly! It was time to revisit the silk canvas.
What is the Silk Canvas?
It’s a balm that is a fusion of makeup and skincare. According to the brand, this product is inspired by the wax-based primers geisha use to create their perfect canvas.
Unlike the deluxe sample, the full-size product comes with a little booklet explaining how the product should be used. Yay! It also includes a little scoop to pick up the product. Yay, again!
There’s a line on the scoop that helps you measure the correct amount of product. My mistake the first time around was using way too much! After picking up the product, warm it between your fingers.
If at First You Don’t Succeed
That is definitely the case for me when it comes to the Silk Canvas. Have you tried this product? What’s your favorite makeup primer?
I remember walking past MAC Cosmetics displays often in high school and college when I worked at Foot Locker.
Before teenagers were hiring makeup artists for prom and graduation, the MAC counter was THAT GIRL! Y’all know me, I love trying new brands and products. That’s great, but sometimes I forget about the OG products. So, I decided to go back to one of my first makeup loves. I picked up the Flame-Boyant palette from the MAC Art Library collection.
The Palette
First, let’s talk about this mirror. It’s massive! I love how easy it was to apply my eyeshadow using the mirror while filming a tutorial with this palette.
The color story is beautiful. It is warm-toned, so that’s something to keep in mind. The pan size of the eyeshadows is nice. I rarely hit pan, so I’m sure this will last me a while.
I also love that this palette has a good mix of matte and frost eye shadows. There are 12 eyeshadows in the palette. Seven shades are matte. Five shades are frosts. All of the eyeshadows are very nicely pigmented.
Final Thoughts
I can’t believe I’ve been away from MAC so long! Using this palette definitely brought back memories. There are two other palettes in the MAC Art Library series, and I can’t wait to try them! Do you own any of these palettes?
Beyonce, take my money! That was my first thought when the Icy Park collection dropped. It’s the first thought I had for every other Ivy Park drop as well.
Download The Adidas App
This may seem like a no-brainer, but it will make a huge difference. When you download the app you’ll be able to sign up for notifications about the drop. Enter your email and wait. The waiting is the worst part!
Use The Pre-Shopping Feature
At first, I chose the latex pants and long sleeve bodysuit. Before the release started, I went back and added the bucket hat. I opened the app back up with about five minutes to go before the release started. I watched the seconds tick away bringing me closer to securing some Ivy Park for the first time! The clock struck zero and then… nothing. Yup, I hit checkout and nothing happened.
Oddly enough, the app blocked screenshots during this time. I tried again and again, but the checkout page wouldn’t load.
When it finally did load, everything was sold out. No! How could this be?! I did everything right, I met all the qualifications, yet somehow I was not selected. I closed the app feeling defeated.
Don’t Give Up
Success! The hat was sold out, and the size I wanted in the top was also sold out. However, I was able to get the top in a different size. I immediately texted my friend and she was able to grab some pieces as well!
Then, I anxiously awaited the arrival of my outfit. I had been asking Beyonce to take my money for several drops, and she finally did! Would this outfit make me look like Sasha Fierce? Only time would tell! Shipping took a little over a week.
My Thougts on Ivy Park
Ok, so here’s the thing. The size chart wasn’t completely accurate. I ordered a medium in the pants and I definitely could’ve sized up. They fit, but let’s just say they’ll be motivation to work out! I knew the top would be a little snug because I had to size down in order to get it. I was glad it at least fit. Again, now I have motivation for sit ups!
I really love the monochromatic color scheme. As soon as my husband saw me in this he yelled, “peanut butter!”
While the pieces are nice, and I will enjoy wearing them, I don’t think they’re worth the stressful experience. I mean I really had to work to give somebody my money! I really wish the collections were more widely available. Hopefully, you’ll have a smoother experience if you follow some of these suggestions. Have you bought any Ivy Park pieces? What was your experience like?
Have you heard so many great things about a brand, but somehow you haven’t tried it? That was me with Mented Cosmetics.
So, I added the foundation, bronzer, and blush to my cart when I was shopping online at Ulta Beauty. When the products arrived I was immediately impressed by the sleek, minimalistic packaging.
Of course with online shopping, you’re trying to eyeball your shade on a computer screen. I think this is a decent color match.
It’s a tad darker than I probably would’ve selected in person, but it works. The formula is really nice. It applies buttery smooth and melts into the skin easily. The coverage is nice and easy to build. Plus, my skin still looks like skin after applying this. I will say that while stick foundation isn’t my favorite formula, I do like the way this product performs. If stick foundations are your jam, you should definitely give this a try!
As soon as I opened this blush I knew I was going to absolutely love it!
The berry shade is perfect for my skin tone. It’s the shade I gravitate toward most often. The formula is buttery and really pigmented. In addition to that, it’s easy to blend. So, you won’t end up with huge red patches on your cheeks. This is definitely going to be a staple in my collection!
Final Thoughts
I’m really glad I gave Mented Cosmetics a try. Oh, and it’s another black-ownedbeauty brand! I’m looking forward to trying more products in their collection.
Have you tried Mented Cosmetics? What’s your favorite product?