At Home Manicure: How to Make Your Press-Ons Last
Many of us learned how to be more resourceful with the closure of personal care services like nail shops and salons due to the Coronavirus. My acrylic nails held on for about four weeks before they got super struggle-ly and they had to go.
That’s when I decided to try an at-home manicure.
I wanted to feel like myself with a fresh manicure. So, I ordered five packages of press-on nails and got to work!
My First At Home Manicure with Press Ons
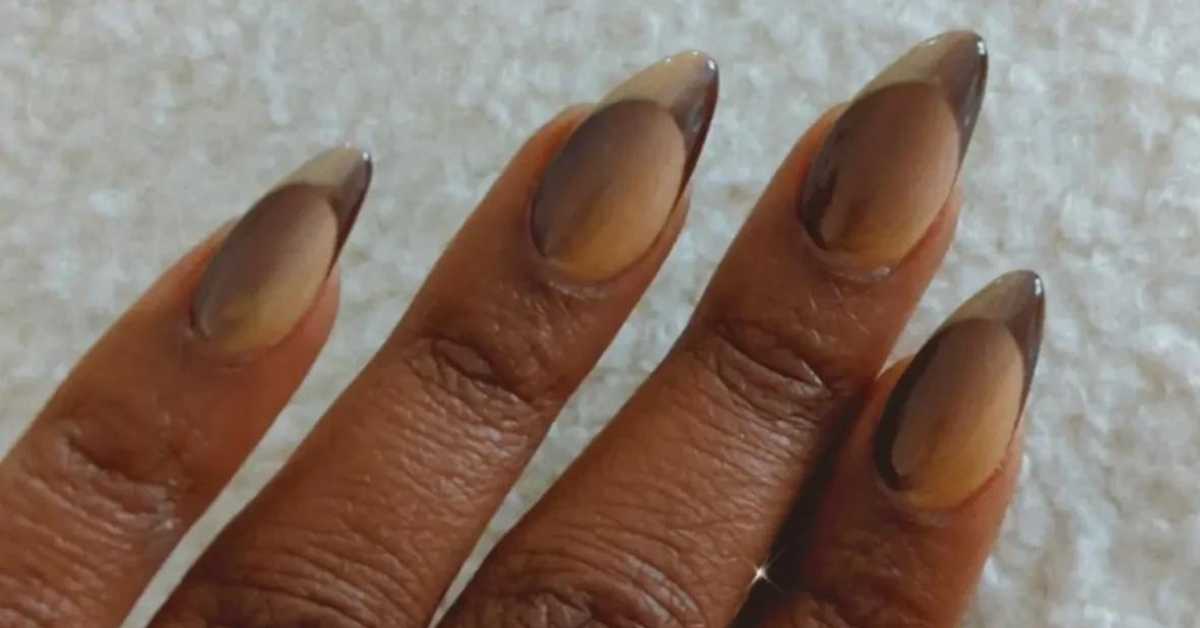
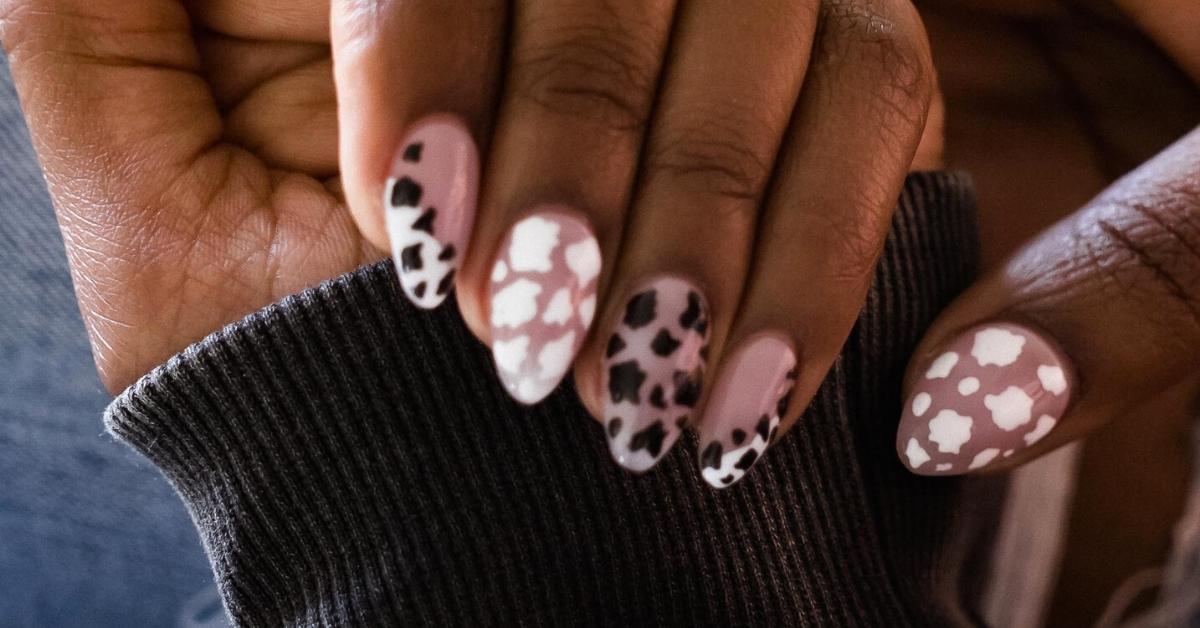
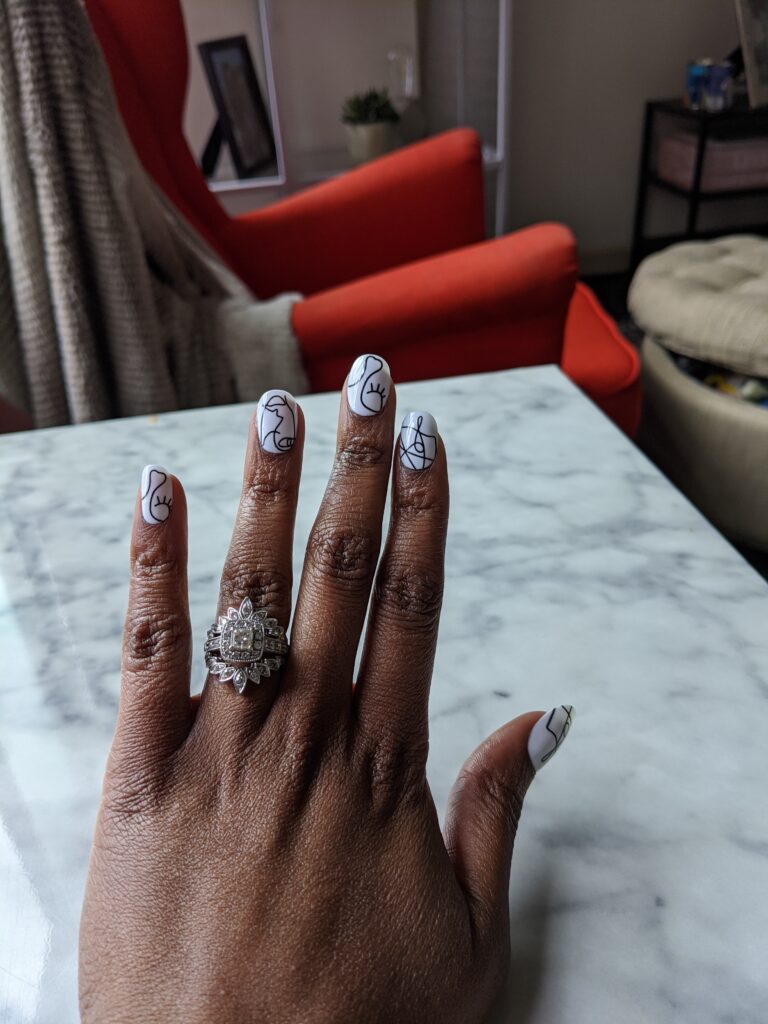
I’m pretty sure I put them on upside down! I really liked the abstract art design on these nails. This set lasted about a week.
The Secret To Success
After a few sets, I figured out the key steps to helping press on nails look more natural AND keeping them from popping off.
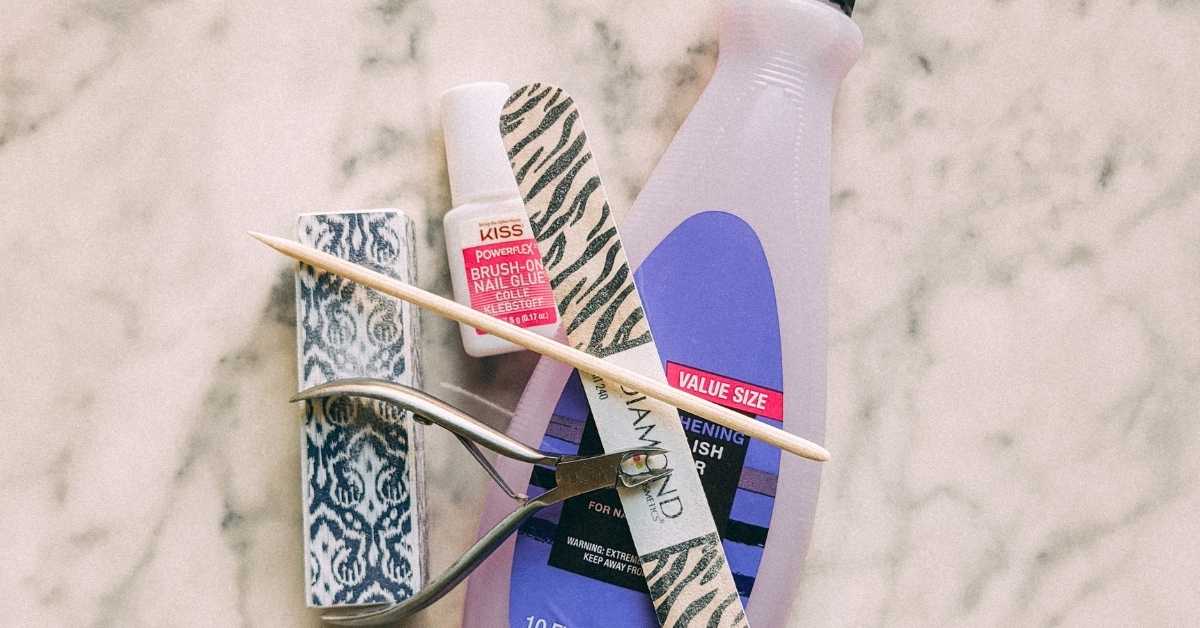
- Remove all polish and/or leftover glue from your nails.
- Push your cuticles back. This step is super important and helps with the fit of the press on nails.
- Clip your cuticles. Do this little by little so you don’t remove too much, or accidentally cut yourself!
- File your nails and buff them to create an even surface.
- Wash your hands and wipe your nails with alcohol. This step is also very important because clean nails will help give your glue the strongest hold.
- Apply your nails and enjoy your manicure!
By following these steps my press-on manicures lasted up to two weeks!

At Home Manicures are Budget-Friendly
All of the nail sets I bought were under $15! That’s a steal compared to what I’m used to spending in salons.
The styles are also super cute and modern. While I’m not sure if I’ll keep doing at-home manicures forever, I’m definitely not mad at these results!
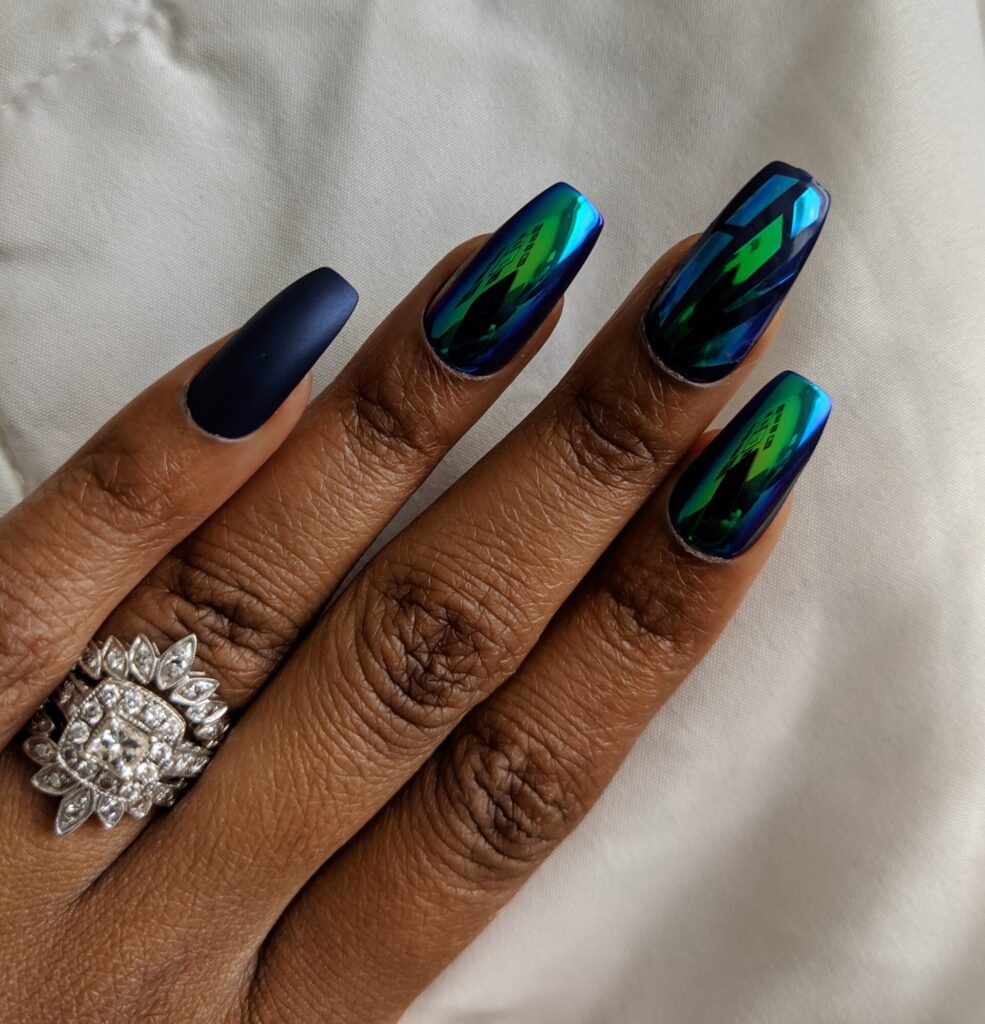
My blue and ombre nails are sold out, but you can find the other sets here:
White Abstract
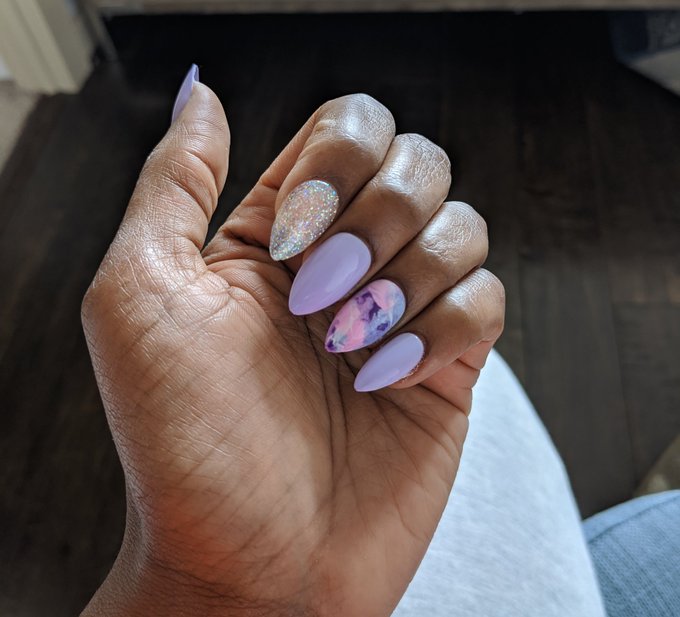
Lavender Glitter
Have you tried press-on nails? What are your at-home manicure tips?

