Indique Remix Review
This post was done in partnership with Indique Virgin Hair Extensions. Indique sent me the Remix Blow-Out clip-In Set for free. All opinions are my own.
If you’ve become your own hairstylist, you’re not alone! Indique Extensions is here to save the day with Remix Blow-Out Clip-Ins.
Why I love Clip-Ins
Clip-ins are so versatile! I love that I can take them out every night. It’s easy to switch up your style, instead of being locked into it like you are with a sew-in. First, I’ll share more about the Remix clip-ins. Be sure to keep reading for some styling tips.
Remix is Indique’s Most Affordable Collection
Indique’s Remix collection is made to give you results without breaking the bank! Remix clip-ins start at $119. Indique’s Studio Perfect 10 clip-ins start at $179. That’s a savings of $60!
All clip-in sets contain approximately 4.5 ounces of hair for 14 inches and 5.3 ounces of hair for 22 inches.
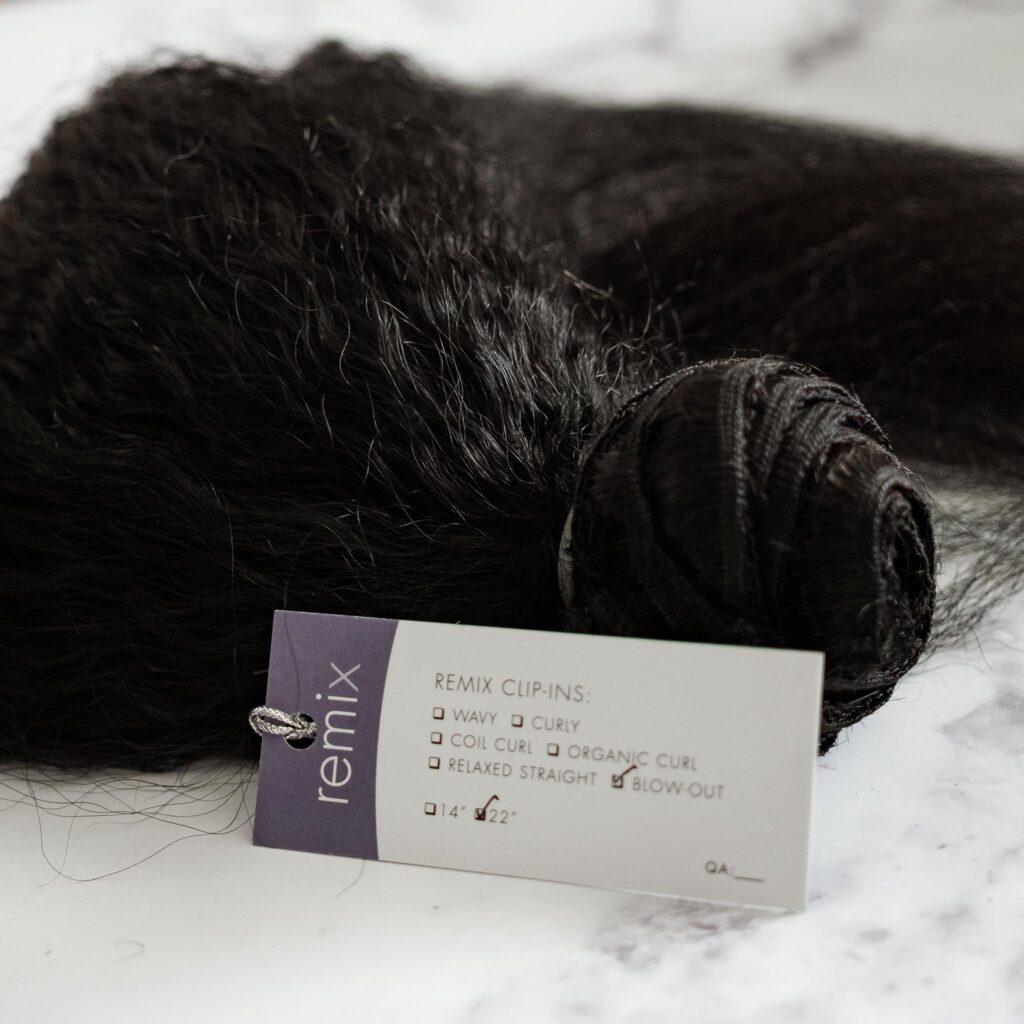
Remix clip-ins are available in six textures and 14 and 22 inches.
Remix Clip-ins vs Studio Perfect 10 Clip-ins
While Remix clip-ins are made up of virgin hair, the process is different from the one used for the Studio Perfect 10 clip-ins. Studio Perfect 10 clip-ins are made up of virgin hair that is hand-drawn to ensure all cuticles are facing the same direction. Strands that are out of place are set aside. The labor-intensive process leads to a higher price tag.
Remix clip-ins are made up of those extra strands.
A machine is used to ensure all the cuticles are aligned and in the same direction. Because the bundles are made from many different strands, the hair is dyed to a 1B tone.
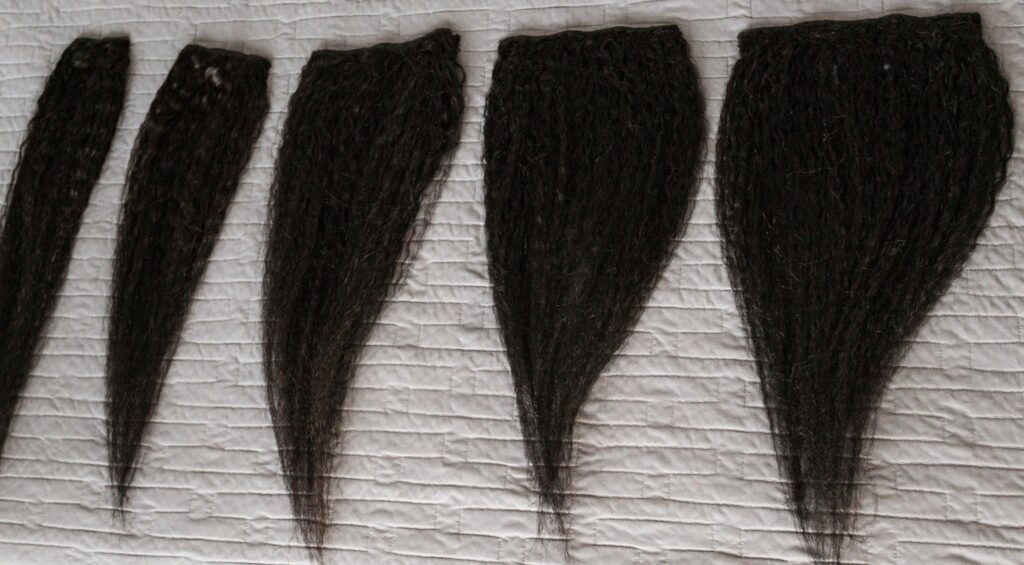
This hair can still be styled with hot tools. However, Indique does not recommend dying it lighter at home because the 1B color will need to be lifted. If you choose to, this should be left to a professional. It’s very important to let a professional stylist know that the hair has been dyed.
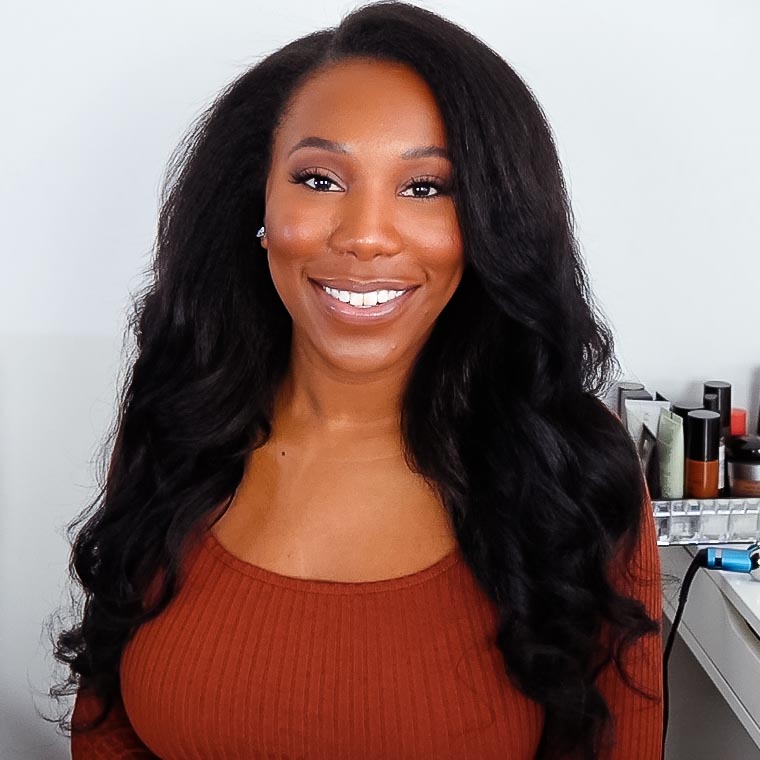
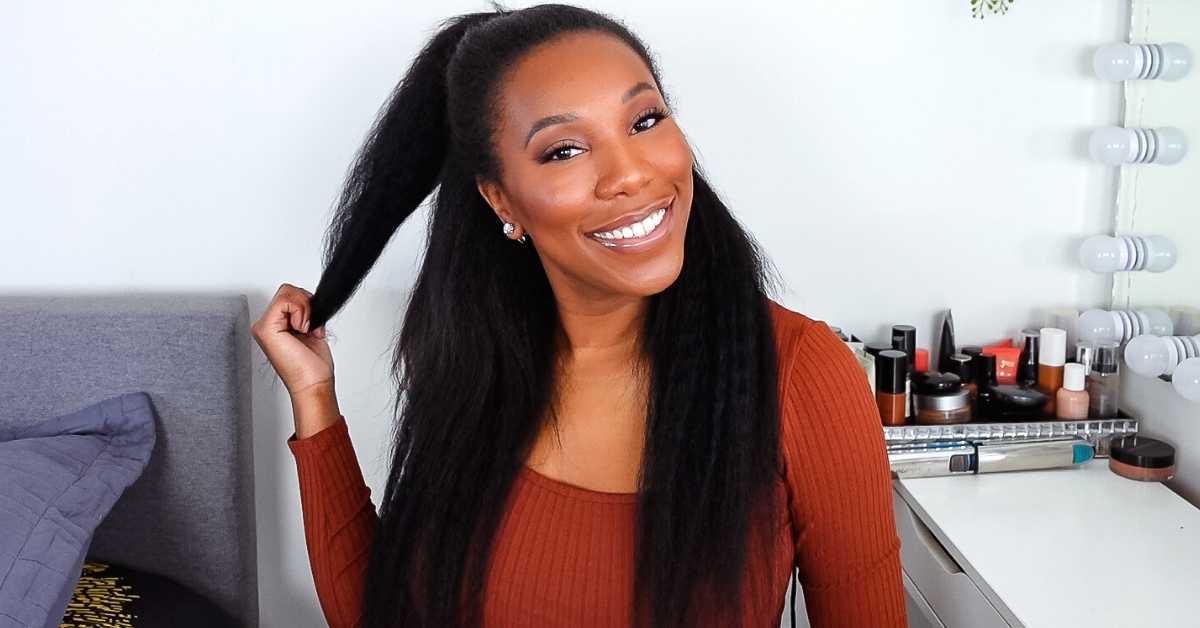
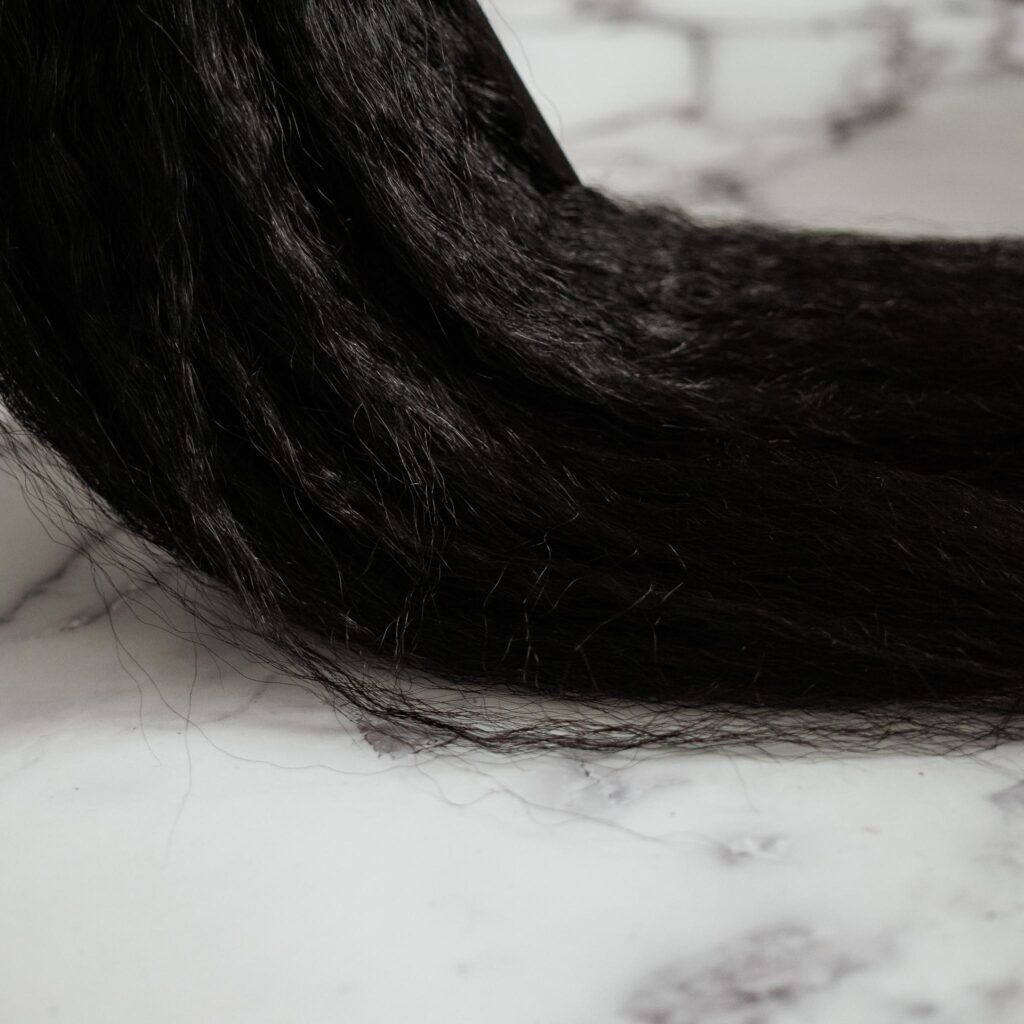
I love the texture of the Remix Blow-Out clip-ins. It allows me to use less heat on my own hair to blend it with the extensions.
What to do Before Installing Clip-ins
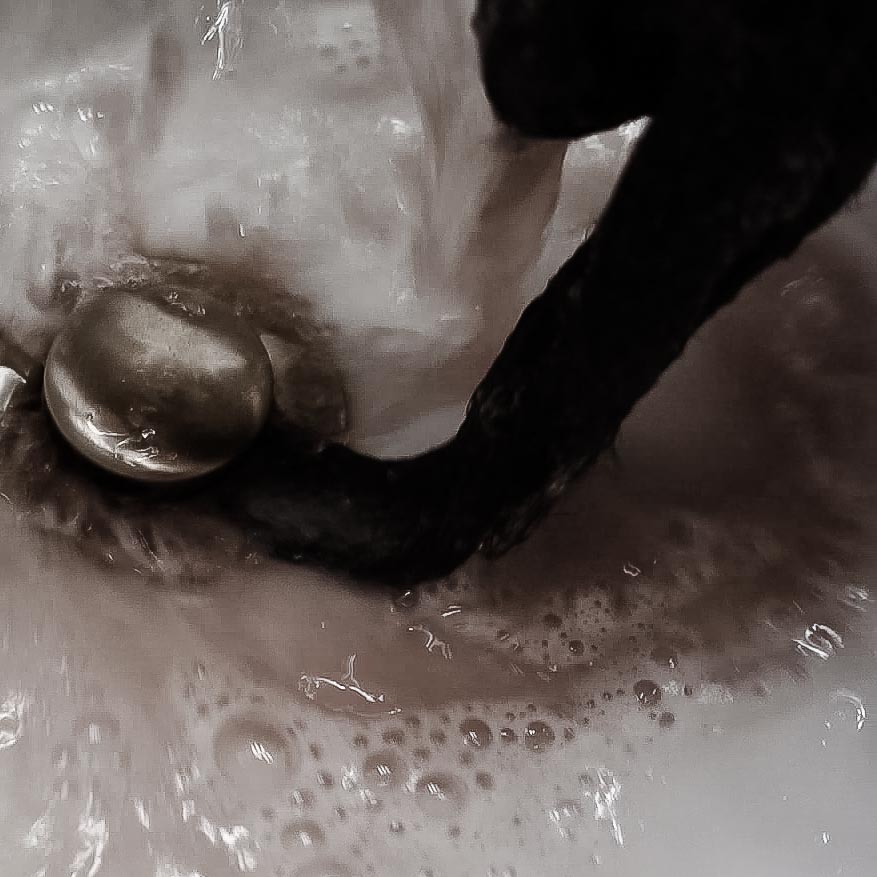
You should wash clip-in extensions before you install them.
You will notice the dye as you wash the Indique Remix extensions. Let the extensions dry fully. Then, wash and dry your own hair. I have found that my clip-ins blend best when my hair is clean.
How to Install Clip-Ins
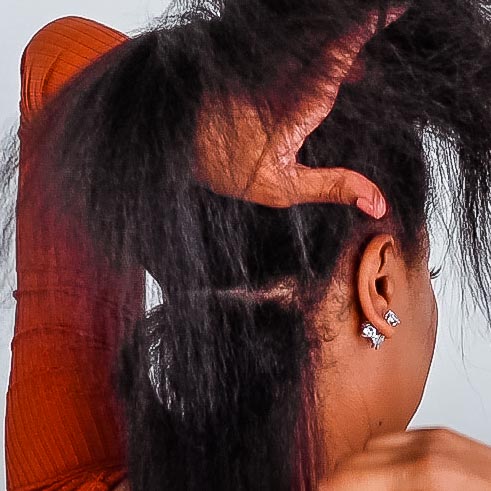
Section your hair. Leave part down, and secure the other half with a clip.
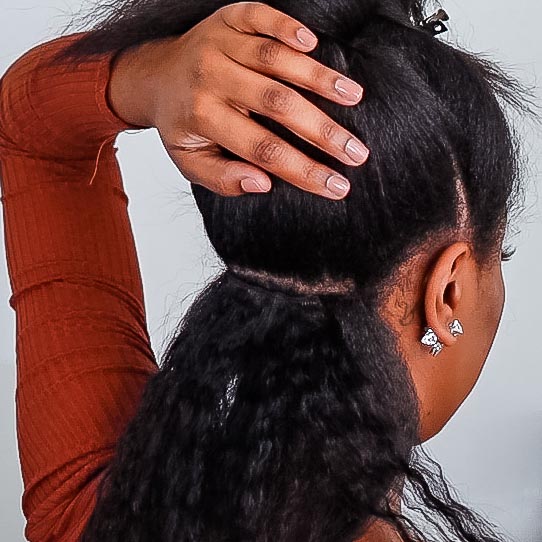
Snap the clip-in into place.
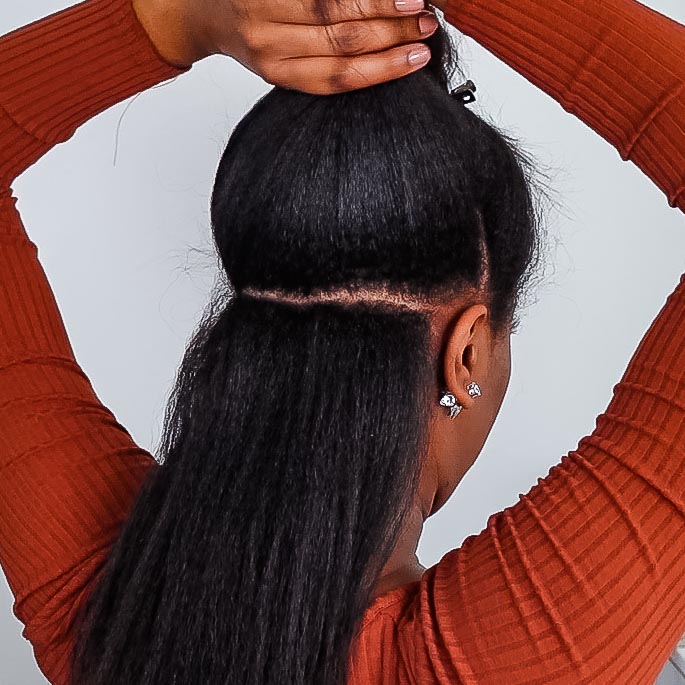
Section another piece of hair and lay it over the clip-in to camouflage it.
Styles to Try With Indique Remix Blow-Out Clip-Ins
Check out this video tutorial for these five easy styles to create using Indique Remix Blow-Out Clip-ins.
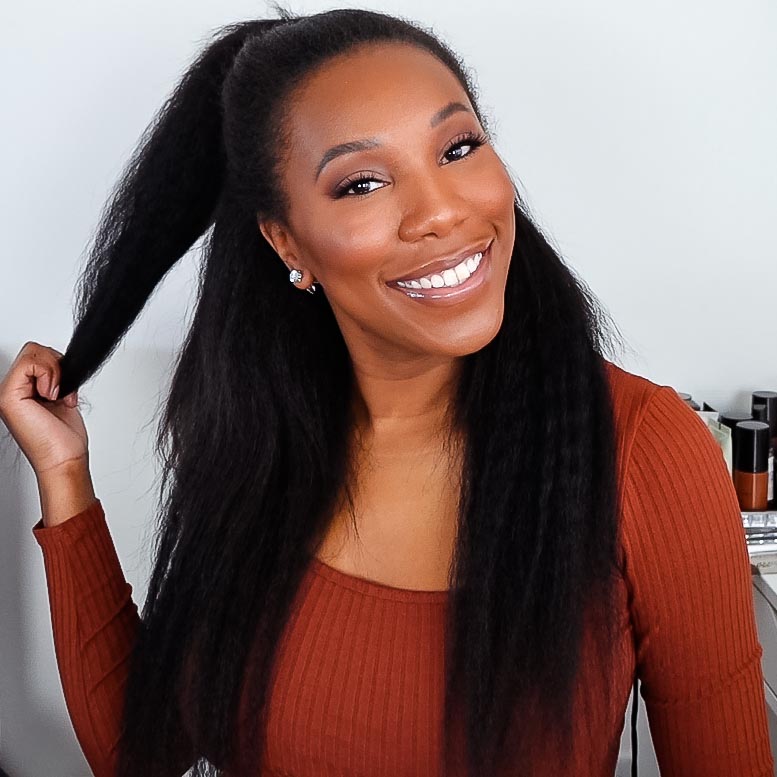
Half up, Half Down
Part your hair across the middle. Secure the top half near the front of your head with a clip or ponytail holder.
Then, section your hair and install clip-ins on the bottom half. Be sure to leave about a half-inch of hair out near the center part. Hold the bottom half in place in a low ponytail.
Now, repeat the same process on the top half. Be sure to leave about an inch of hair out near the front to camouflage the wefts. Now, gather the top half into a ponytail. Wrap a piece of hair around the ponytail holder and secure it with a bobby pin for a really sleek look.
Top Knot
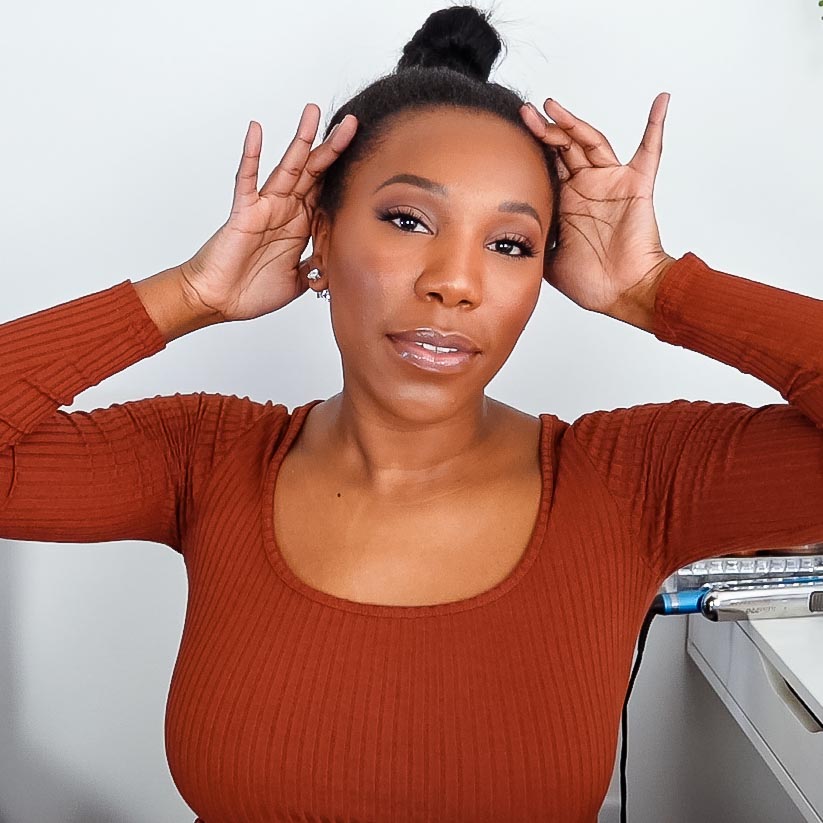
Part your hair across the middle. Secure the top half. Then section off the bottom, and install clip-ins facing the opposite direction.
Then repeat the same process on the top half with the clip-ins facing the normal direction. Now gather all the hair and secure it with a ponytail holder. Finally, twist the hair to create a top knot and secure it with a bobby pin or ponytail holder.
Braided Ponytail
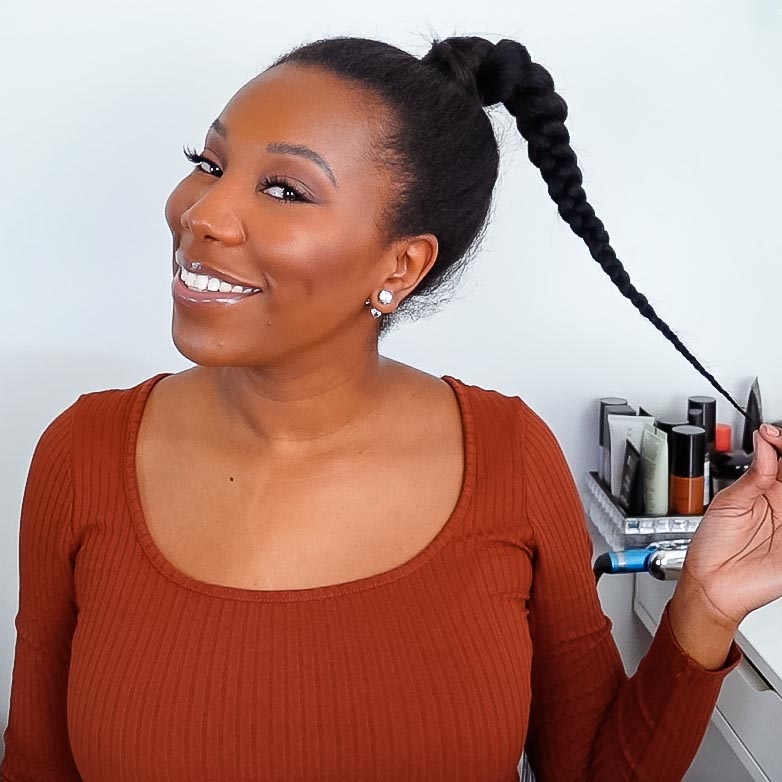
Section your hair and install the clip-ins using the top knot method. Then, gather the hair and secure it with a ponytail holder.
Take a piece of hair, wrap it around the ponytail holder, and secure it with a bobby pin. Braid the hair. The hair is tapered, so you won’t need to secure it with a rubber band or ponytail holder!
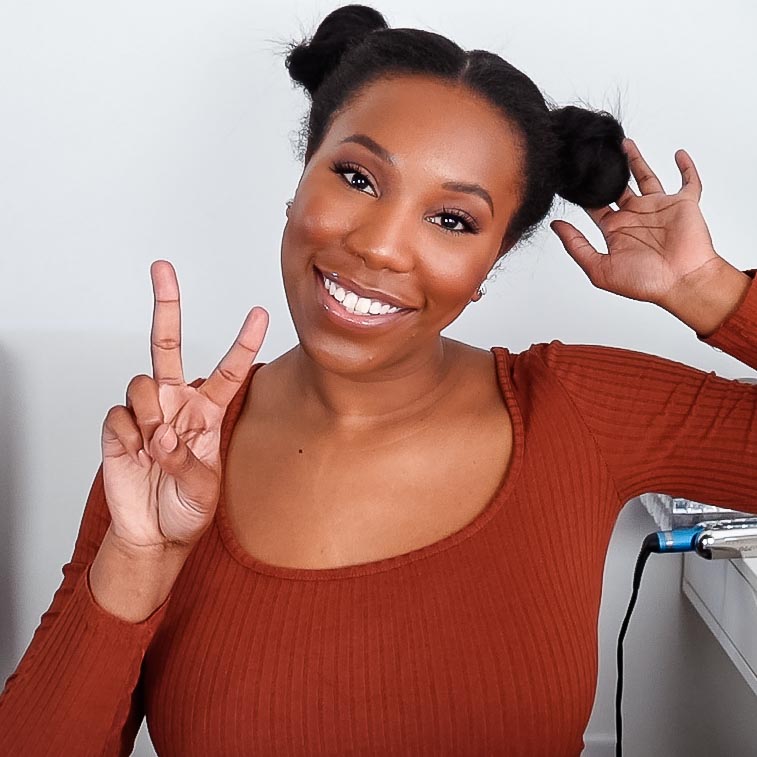
Double Buns (Space Buns)
Part your hair straight down the middle. Secure one side with a clip.
Install clip-ins on one side using the top knot method. I only use three clip-ins, because of the smaller width of the sections. Gather all of the hair into a ponytail near the front of your head and secure it with a ponytail holder. Loosely twist the hair to create a bun shape and secure the end with a bobby pin. Repeat on the other side.
Voluminous Curls
Section your hair and install all ten clip-ins. You can add a part in the front if you’d like. Spray heat protectant on the hair.
I like to use a flat iron to curl the hair in several large sections. Then, I go back and curl smaller pieces until I’m happy with the result!
I absolutely love the freedom and creativity clip-ins give me. If you’d like to try Indique Remix Clip-Ins you can pick up a set here. Do you plan on trying clip-ins?
