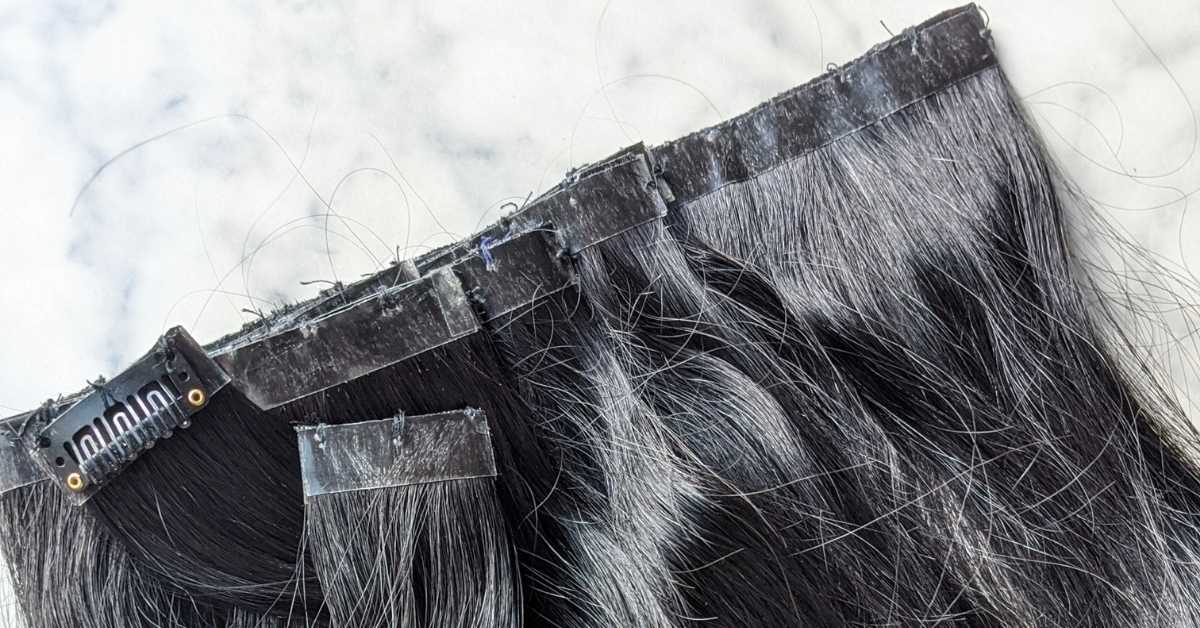
DIY: Seamless Clip In Hair Extensions
I love clip-ins because they’re easy to install, give instant results, and there’s no commitment. I’ve had my eye on seamless clip-in hair extensions for a while… but I was not a fan of the price!
I just knew I could make them – and save some coins! This video from Hair Wefting Tape helped me get started. After doing some more research I resurrected a few bundles from a previous sew-in and created my own seamless clip-in hair extensions!
What you’ll need:
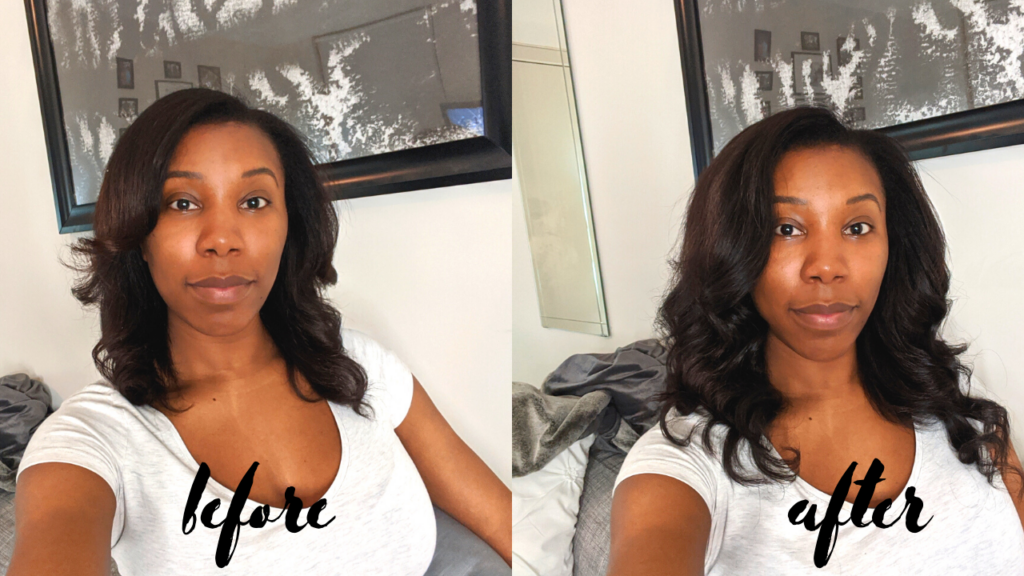
- Hair (obviously!) I used about 2 1/2 bundles of Yummy Extensions natural wave. I had this installed about a year ago and I loved this hair!
- Single-sided hair extension tape
- Snap clips
- Hair bonding glue
- Scissors
- Measuring tape
- Needle
- Thread that matches your hair color
How to Make the Clip Ins:
- Measure and cut your wefts. I made:
- 1: 4-clip weft measuring 8 1/2 inches
- 2: 3-clip wefts measuring 5 3/8 inches
- 1: 2-clip weft measuring 5 1/2 inches
- 5: 2-clip wefts measuring 3 3/8 inches
- 2: 1-clip wefts measuring 1 3/8 inches
- I doubled my wefts for all of my pieces
- Cut a piece of extension tape slightly longer than your wefts.
- Carefully apply the tape to the hair, about a quarter of an inch below the machine weft. Repeat on your second weft.
- Spread a layer of bonding glue on top of the hair (opposite side of the tape). Repeat on your second weft.
- Line the two pieces up and press them together. I used a rat tail comb to help secure them.
- Cut excess tape from the sides and the machine weft from the top.
- Apply a layer of bonding glue to the top, where you removed the machine weft
- Let the wefts set for 24 hours.
- Sew clips onto the wefts.
Looking for styles to try with your new clip-ins? Check out this post for some inspo!
Vanessa Herring
I am an award winning news reporter and anchor creating beauty, skincare and lifestyle content. I'm from Pittsburgh, Pennsylvania and my career as a news anchor and reporter took me to snowy to Erie, Pennsylvania... Rochester, New York... Baltimore, Maryland... and Washington, D.C. I currently reside in the Philadelphia area with my husband.
Share
Pin
Tweet
Comments

